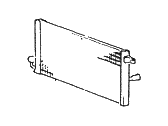
Genuine Hyundai Excel A/C Condenser
Air Conditioning CondenserEnter your vehicle info to find more parts and verify fitment
- Select Vehicle by VIN
- Select Vehicle by Model
Select by VIN
orEnter your VIN for the most accurate results.Enter your VIN for the most accurate results.
Select by Model
-- Select Model --
-- Select Year --
14 A/C Condensers found


Hyundai Excel Condenser Assembly-Cooler
Part Number: 97605-21251$304.55 MSRP: $453.56You Save: $149.01 (33%)Hyundai Excel Condenser Assembly-Cooler
Part Number: 97606-21503$304.55 MSRP: $453.56You Save: $149.01 (33%)Hyundai Excel Condenser Assembly-Cooler
Part Number: 97606-21300$359.02 MSRP: $539.26You Save: $180.24 (34%)Hyundai Excel Condenser Assembly-Cooler
Part Number: 97606-21600$359.02 MSRP: $539.26You Save: $180.24 (34%)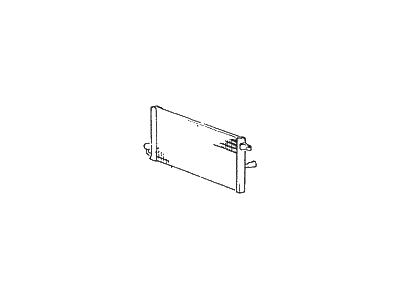

Hyundai Excel Condenser Assembly-Cooler
Part Number: 97606-24001$359.02 MSRP: $539.26You Save: $180.24 (34%)Hyundai Excel Condenser Assembly-Cooler
Part Number: 97606-24002$359.02 MSRP: $539.26You Save: $180.24 (34%)
Hyundai Excel Condenser Assembly-Cooler
Part Number: 97606-24003$359.02 MSRP: $539.26You Save: $180.24 (34%)Hyundai Excel Condenser Assembly-Cooler
Part Number: 97606-24011$359.02 MSRP: $539.26You Save: $180.24 (34%)Hyundai Excel Condenser Assembly-Cooler
Part Number: 97606-24012$359.02 MSRP: $539.26You Save: $180.24 (34%)Hyundai Excel Condenser Assembly-Cooler
Part Number: 97606-24810$359.02 MSRP: $539.26You Save: $180.24 (34%)Hyundai Excel Condenser Assembly-Cooler
Part Number: 97606-24820$359.02 MSRP: $539.26You Save: $180.24 (34%)Hyundai Excel Condenser Assembly-Cooler
Part Number: 97606-21501$459.89 MSRP: $690.77You Save: $230.88 (34%)Hyundai Excel Condenser Assembly-Cooler
Part Number: 97606-21502$459.89 MSRP: $690.77You Save: $230.88 (34%)
Hyundai Excel A/C Condenser Parts Questions & Answers
- Q: How to remove and install a condenser in a Hyundai Excel?A: Have the system discharged and recovered by dealership or other properly equipped repair facility. On 1986 through 1994 models, remove the Radiator grille. On 1990 through 1994 models, remove the radiator. On 1995 through 2002 models, remove the two upper radiator mounting bracket bolts and remove the fresh air inlet duct. On 2012 and later models, remove the front bumper cover. Disconnect the refrigerant lines from the condenser. Be sure to use a back-up wrench to avoid twisting the lines. Note: On 1990 through 1994 models, a special spring-lock coupling tool is required to disconnect the refrigerant lines. Immediately cap the open fittings to prevent the entry of dirt and moisture. Drain the engine coolant and remove the radiator and fan assembly. Unbolt the condenser and lift it out of the vehicle. Store it upright to prevent oil loss. Installation: If reusing the condenser, straighten the condenser fins using a fin comb and blow out the debris with compressed air. Caution: Use a face shield and goggles if using compressed air to clean the condenser. Installation is the reverse of removal. If a new condenser was installed, add the proper amount (and type) of refrigerant oil to the system. Have the system evacuated, recharged, and leak tested.
Related Hyundai Excel Parts
 Hyundai Excel A/C Hose
 Hyundai Excel A/C Expansion Valve
 Hyundai Excel Blower Motor
 Hyundai Excel A/C Switch
 Hyundai Excel A/C Accumulator
 Hyundai Excel A/C Clutch
 Hyundai Excel A/C Compressor
 Hyundai Excel A/C Compressor Cut-Out Switches
 Hyundai Excel A/C Service Cap
 Hyundai Excel A/C System Valve Core
 Hyundai Excel Belt Tensioner Bolt