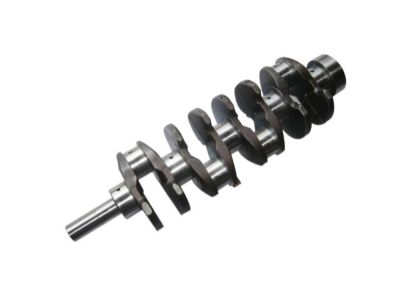
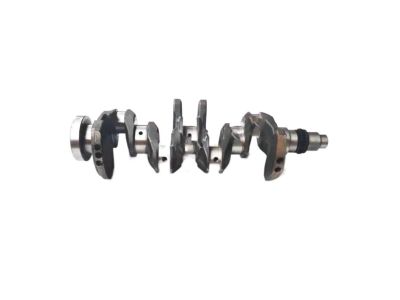
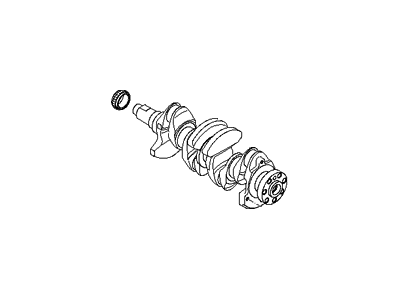
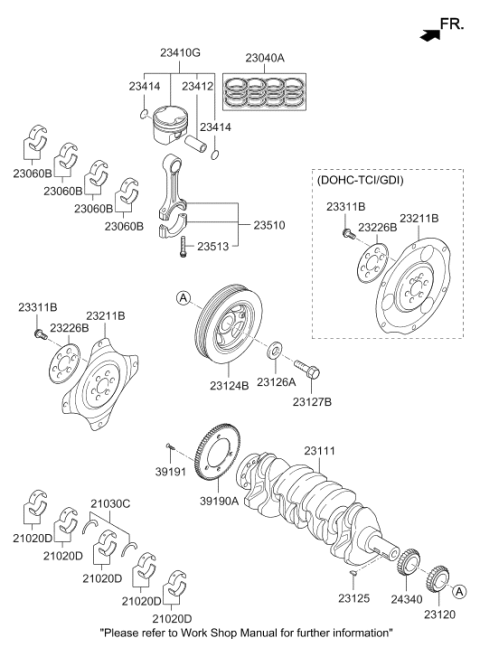
Remove all burrs from the crankshaft oil holes with a stone, file, or scraper to ensure the oil holes are chamfered, preventing sharp edges from gouging or scratching the new bearings. Clean the crankshaft with solvent and dry it with compressed air if available. Check the main and connecting rod bearing journals for uneven wear, scoring, pits, and cracks, and inspect the rest of the crankshaft for cracks and other damage, using Magnaflux to reveal hidden issues, which can be handled by an automotive machine shop. Measure the diameter of the main and connecting rod journals with a micrometer, comparing results at several points to detect taper and out-of-round conditions, taking measurements at each end of the journal near the crank throws. If the journals are damaged, tapered, out-of-round, or worn beyond limits, have the crankshaft reground by an automotive machine shop, ensuring the use of the correct-size bearing inserts if reconditioned. Check the oil seal journals at each end of the crankshaft for wear and damage; if grooves, nicks, or scratches are present, the new seal may leak upon reassembly, and an automotive machine shop may be able to repair the journal by pressing on a thin sleeve, or a new or different crankshaft may need to be installed if repair isn't feasible. Examine the main and rod bearing inserts, and inspect the crankshaft sensor wheel at the rear for cracks, wear, and other damage; if damaged, replace it, as this can lead to severe driveability problems, and ensure to tighten the retaining screws when reinstalling the sensor wheel after removing the three retaining screws.