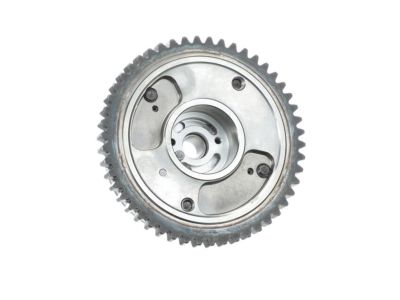
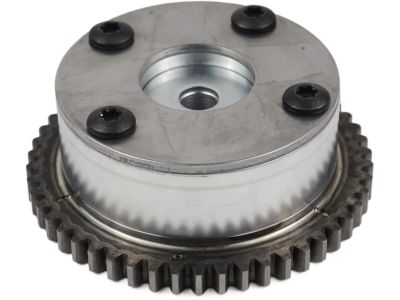
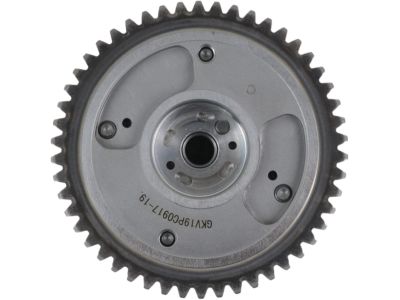
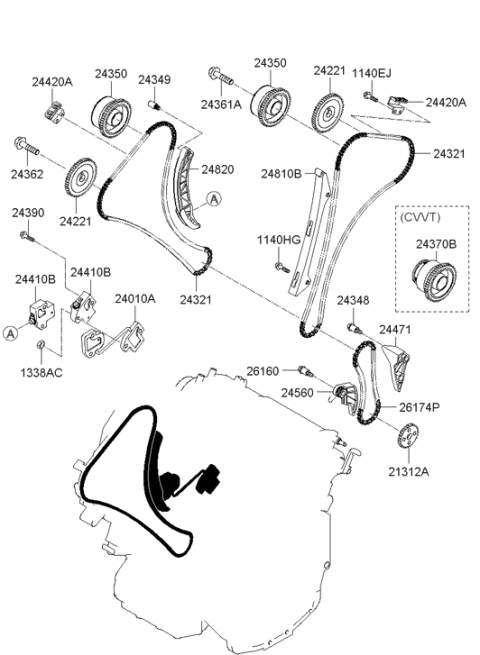
Before beginning the removal of any engine components, ensure that the ignition is turned off and the cable connected to the negative terminal of the battery is detached. In addition, the lug nuts on the right front wheel should be loosened, and the car lifted and the wheel fully removed. Provide TDC compression for the number one cylinder, and then remove the right side of the engine splash shield, on the beauty side support the oil pan using a floor jack and block of wood in order to lessen the weight on the engine mounts. Second, after that, the upper engine mount bracket has to be taken off, water pump pulley bolts need to be slightly loosened and the drivebelt along with the drivebelt tensioner, idler pulley, and the alternator need to be removed. Disconnect the electrical connectors for the ignition coils, pumps fuel injectors, and Camshaft Position sensor and then unfasten the inlet duct to air filter housing and air filter assembly. Move on and take out the water pump pulley, crankshaft pulley and engine mount bracket off the timing chain cover. Lower the air conditioning compressor and its mounting bracket to the body when the engine is supported. Loosely fit the crankshaft pulley into position over the crankshaft to check for TDC; then remove the timing chain cover screws/bolts, and cover, while noting the orientation of the crankshaft key slot relative to TDC and the timing marks on the camshaft sprockets. Press down the timing chain tensioner plunger with a puller, fasten it, and take out the tensioner, timing chain tensioner arm, and chain. Disconnect the timing chain oil jet and crankshaft sprocket, and compress the balance shaft chain tensioner while disposing of the former unit as well as the latter's pins. All the worn and damaged part must be checked, timing chain and balance shaft chain must be replaced, sprockets as well as tensioners should be examined. For assembly, position the crankshaft keyway Together with the balance shaft sprocket groove and the balance shaft module should be positioned, The color link of the chain should also be arranged in matching sprocket marks. Ensure that the colored links and anti-rev mark are properly aligned on the chain sprockets then properly install the chain guide and tensioner arm together with the tensioner. Fit the timing chain sprocket and oil spray nozzle in its respective place to the crankshaft key and the cam shaft sprocket mark must match. Remove all the sealing surfaces, apply the RTV sealant and after that install the timing chain cover and tighten the bolts as recommended. Last but not the least, ensure you fit the crankshaft oil seal and the process should be done in reverse to the way you removed them.