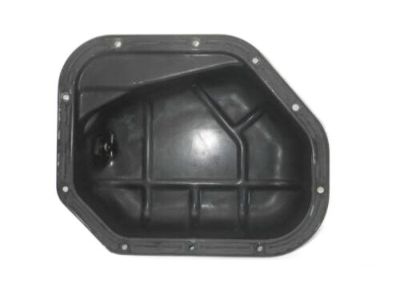
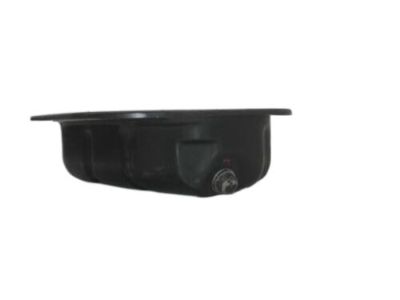
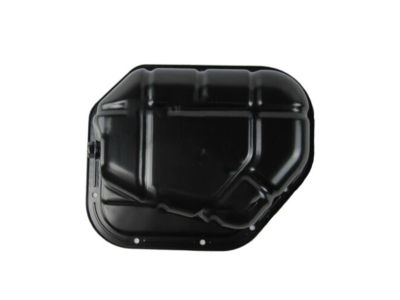
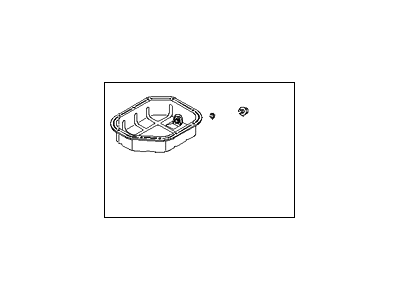
To dismantle the oil pan simple follow the steps below; first unclasp the cable from the negative terminal of the vehicle battery then lift the vehicle on standard jack and place the jackstands securely. Undo the clips and screws of the engine splash shields if they are installed, empty the engine oil and also detach the oil filter. The oil pan is formed of an aluminum casted part bolted to the block and transaxle and a lower stamped-steel pan part. Remove the exhaust pipe connecting both exhaust manifolds and, if required, the oxygen sensors; this should be done with the assistance of the pipe's weight-bearing capacity. Loosen the pipe on the rear part and take out the hangers connecting the pipe to the automobile. For 3.5L engines before 2007, unscrew the two lower bolts that fasten the upper aluminum oil pan section to the transaxle. Take out all those components that may hinder, and make sure there is ample space for the oil pan to be taken out. The lower steel pan can be detached by unbolting it and if Show more stuck use a pipe wrench to remove the bolt gently without destroying the mating surfaces of the pan. If your lower baffle is fitted then it must be unscrewed and if fitted with the oil pump pick-up/strainer then it has to be removed as well. Third, loosen the remaining flat head hose clamps and thread in the new /metric bolts the head hoses to the block with care as some of the bolts are behind the steel pan. Regarding installation, one needs to remove the previous sealant mechanically using a scraper on the block and oil pan, and wash the contact surfaces with acetone or lacquer thinner. Make sure the threaded bolt holes in the block are clear; examine the flange of the steel pan section for deformation, which needs to be flattened if it has sprung back. Replace the baffle if it had been taken out beforehand; also, clean the sealing areas of the engine block and mated aluminum pan section, apply a 3/16-inch wide band of RTV sealant to the aluminum pan section. Within 5 minutes, fit the aluminum pan section by using the same torque on the bolts in several sequences. Check the oil pump pick-up/strainer assembly for cracks & blockage, and clean it if it was removed & refit a new gasket and fasten the bolts to the provided torque. 5 Bring the flange of the steel oil pan section to touch the cast flange while making sure that is installed within 5 minutes of applying RTV sealant to the flange in a 3/16-inch wide bead. Stand the steel pan on the metal part of the aluminum and fasten the bolts, in a way that is step wise, this may take three or four steps. The remaining part of the installation is done in the reverse order of the removal and it is recommended that after the sealant has been put in place, one waits for at least two hours before refilling the oil and installing an oil filter. Lastly, start the engine and ensure for pressure and leaks of the oil.