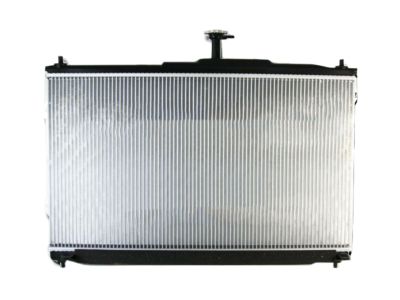
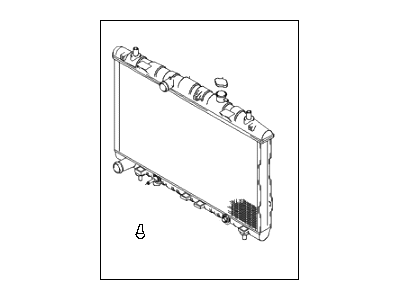
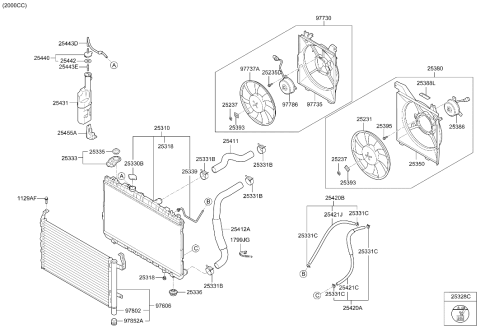
To remove the radiator, follow these steps, First, ensure you have the anti-theft radio activation code if needed. Disconnect the battery's negative terminal cable. Drain the cooling system using the drain cock valve at the radiator's lower right rear corner. Remove the air duct and air filter housing, and on specific models, the battery and battery tray. Disconnect the electrical connector from the radiator cooling fan and, if applicable, the condenser cooling fan connector and the reservoir hose from the radiator filler neck. Loosen and detach the upper and lower hoses from the radiator, as well as the fluid cooler lines if present. For some models, remove the filler neck mounting bolts and filler neck. If the vehicle has an automatic transaxle, disconnect the fluid cooler lines from the radiator. Depending on the model year and type, remove the radiator mounting bolts, brackets, cooling fans, headlight housings, front bumper cover, radiator support, air guard fasteners, intercooler mounting bolts, air filter housing resonator, and separate the air conditioning condenser from the radiator. Carefully lift out the radiator and cooling fans as an assembly. Inspect the radiator for damage, clean it, and ensure its cooling fins are not bent. For installation, reverse the removal steps, fill the cooling system with the appropriate antifreeze-water mixture, check for leaks, let the engine reach normal operating temperature, and confirm coolant and transaxle fluid levels.