×
- Hello
- Login or Register
- Quick Links
- Live Chat
- Track Order
- Parts Availability
- RMA
- Help Center
- Contact Us
- Shop for
- Hyundai Parts
- Hyundai Accessories


My Garage
My Account
Cart
Genuine Hyundai Accent Flywheel
Clutch Flywheel- Select Vehicle by Model
- Select Vehicle by VIN
Select Vehicle by Model
orMake
Model
Year
Select Vehicle by VIN
For the most accurate results, select vehicle by your VIN (Vehicle Identification Number).
8 Flywheels found
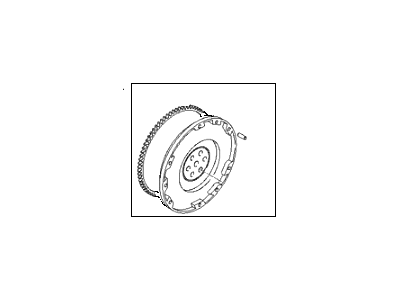
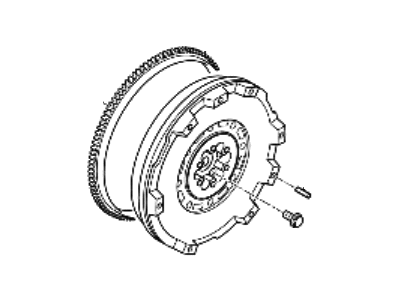
Hyundai Accent FLYWHEEL Assembly
Part Number: 23200-2B020$260.79 MSRP: $366.40You Save: $105.61 (29%)Ships in 1-3 Business DaysHyundai Accent FLYWHEEL Assembly
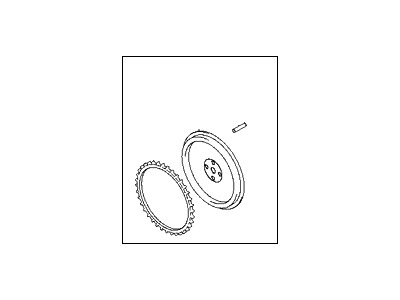
Part Number: 23200-2B000$260.79 MSRP: $366.40You Save: $105.61 (29%)Ships in 1-3 Business DaysHyundai Accent FLYWHEEL Assembly
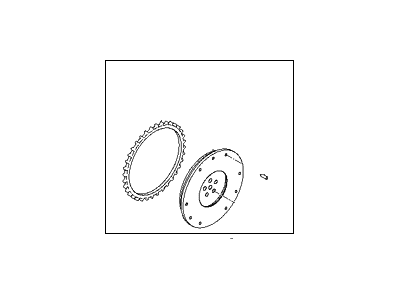
Part Number: 23200-26100$251.46 MSRP: $353.29You Save: $101.83 (29%)Ships in 1-3 Business DaysHyundai Accent FLYWHEEL Assembly
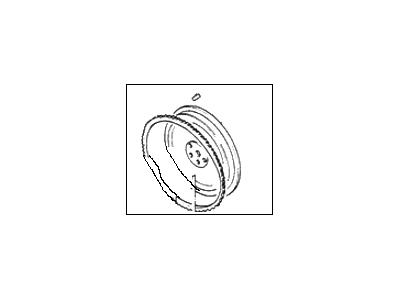
Part Number: 23200-26101$251.46 MSRP: $353.29You Save: $101.83 (29%)Ships in 1-3 Business DaysHyundai Accent FLYWHEEL Assembly
Part Number: 23200-2B001$260.79 MSRP: $366.40You Save: $105.61 (29%)Ships in 1-3 Business DaysHyundai Accent FLYWHEEL Assembly
Part Number: 23200-22020$255.87 MSRP: $359.48You Save: $103.61 (29%)Ships in 1-3 Business DaysHyundai Accent FLYWHEEL Assembly
Part Number: 23200-26001$255.87 MSRP: $359.48You Save: $103.61 (29%)Ships in 1-3 Business DaysHyundai Accent FLYWHEEL Assembly
Part Number: 23200-2M000$260.79 MSRP: $366.40You Save: $105.61 (29%)Ships in 1-3 Business Days
Hyundai Accent Flywheel
Automobile systems powered by the Flywheel in Hyundai Accent models achieve three main tasks: it stores rotational energy to regulate engine torque while it also joins with the starting drive to turn the crankshaft at ignition yet it acts as a friction medium for the clutch disc. Fastened to the crankshaft the Flywheel moves alongside the engine because it delivers ongoing power through pulse-smoothing mechanisms designed to balance combustion power bursts. The various Hyundai Accent models have featured two kinds of Flywheel systems including solid versions alongside dual mass Flywheel (DMF) mechanisms. Standalone solid Flywheels operate as basic units yet DMFs contain a spring-equipped damping unit that improves movement and decreases engine shaking which enhances driving comfort. The replacement of DMFs proves necessary since they cannot undergo resurfacing processes due to component internal failure problems. The clutch contact surface wear and ring gear damage are the main reasons for Hyundai Accent Flywheel replacement according to repair records. Both damage appear from repeated engine starts or from having an incorrectly situated starter.
If you are looking for affordable high-quality OEM Hyundai Accent Flywheel, then you have come to the prime place. Our website provides a large amount of genuine Hyundai Accent Flywheel at unbeatable prices. All our parts come backed with the manufacturer's warranty.
Hyundai Accent Flywheel Parts Questions & Experts Answers
- Q: How to remove and insatall Flywheel on 2012 and later Hyundai Accent?A:However, before we remove the driveplate I should warn you that you should first try to disconnect the cable on the negative terminal of the battery. Next, remove the transaxle. It is advisable to use paint or a center-punch to put alignment marks on the crankshaft flange and the driveplate so as to enable proper alignment when fixing them. Take out the bolts that hold the driveplate in place to the crankshaft using a driveplate holding tool or using a screwdriver or prybar inserted through any of the holes in the driveplate to hold it from turning while disconnecting the bolts. Make a mental note of any space used or placed as you disassemble the driveplate. During installation one should ensure the driveplate is not cracked or has any other signs of damage. Fit the driveplate to the crankshaft flange, and make sure that the keyway, or notches are aligned and that the bolt holes are correctly matched; on some models there may be two bolt patterns available. Use non-hardening thread locking compound on the threads of the bolts, put them in and tighten them in a polygon pattern gradually and end up with the specific torque. Finally, install the transaxle.
Related Hyundai Accent Parts
Browse by Year
2022 Flywheel 2021 Flywheel 2020 Flywheel 2019 Flywheel 2018 Flywheel 2017 Flywheel 2016 Flywheel 2015 Flywheel 2014 Flywheel 2013 Flywheel 2012 Flywheel 2011 Flywheel 2010 Flywheel 2009 Flywheel 2008 Flywheel 2007 Flywheel 2006 Flywheel 2005 Flywheel 2004 Flywheel 2003 Flywheel 2002 Flywheel 2001 Flywheel 2000 Flywheel 1999 Flywheel 1998 Flywheel 1997 Flywheel 1996 Flywheel 1995 Flywheel 1994 Flywheel
