×
- Hello
- Login or Register
- Quick Links
- Live Chat
- Track Order
- Parts Availability
- RMA
- Help Center
- Contact Us
- Shop for
- Hyundai Parts
- Hyundai Accessories


My Garage
My Account
Cart
Genuine Hyundai Elantra Hood Latch
Engine Hood Latch- Select Vehicle by Model
- Select Vehicle by VIN
Select Vehicle by Model
orMake
Model
Year
Select Vehicle by VIN
For the most accurate results, select vehicle by your VIN (Vehicle Identification Number).
13 Hood Latches found

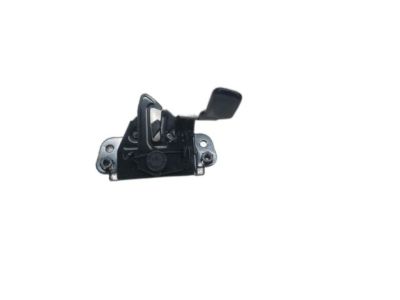
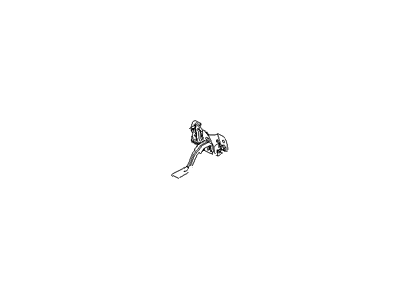
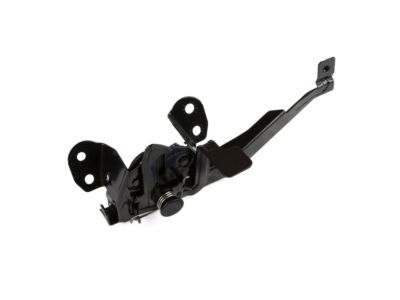
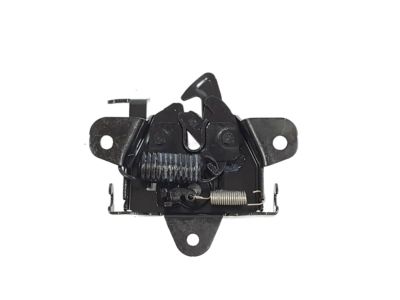
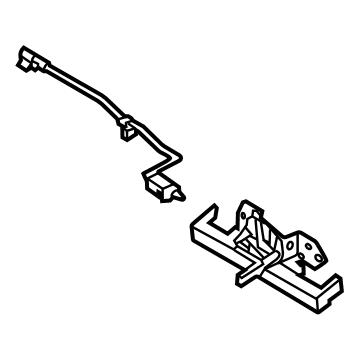
Hyundai Elantra Latch Assembly-Hood
Part Number: 81130-F2010$68.57 MSRP: $96.34You Save: $27.77 (29%)Ships in 1 Business Day
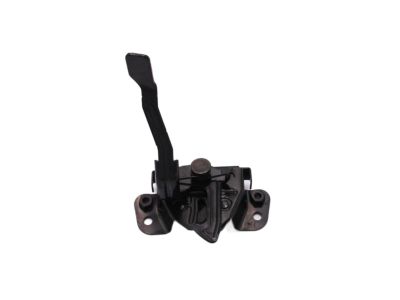
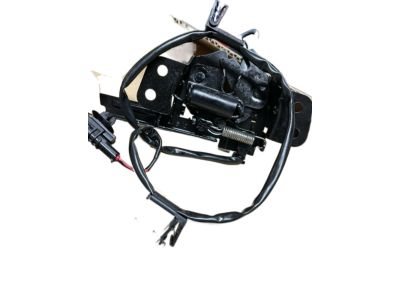
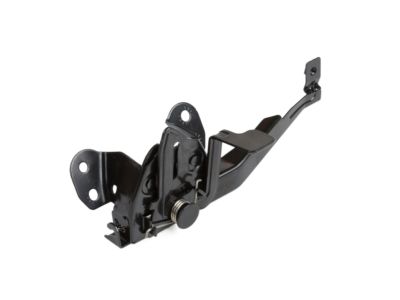
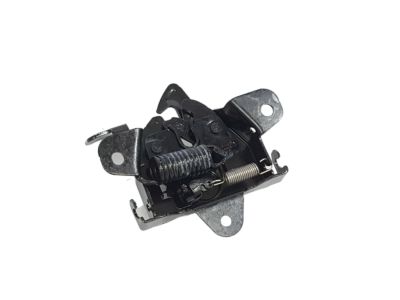
Hyundai Elantra Latch Assembly-Hood
Part Number: 81130-3X000$48.30 MSRP: $67.27You Save: $18.97 (29%)Ships in 1-3 Business Days
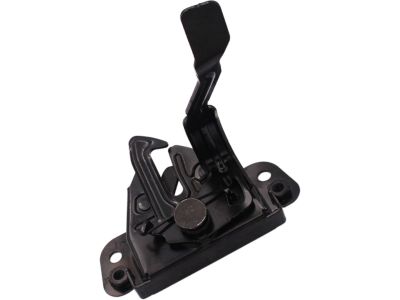
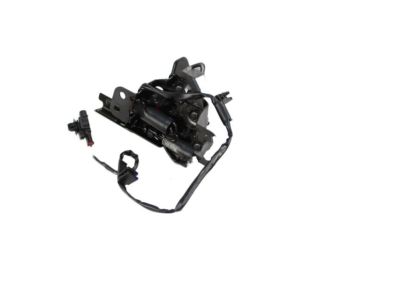
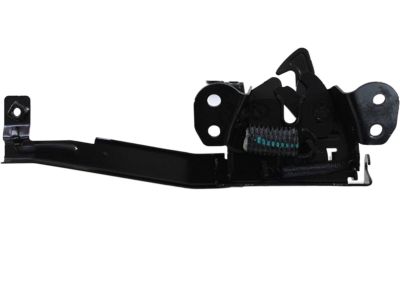
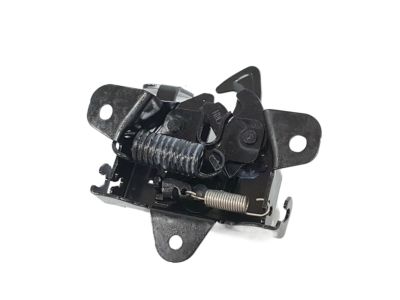
Hyundai Elantra Latch Assembly-Hood
Part Number: 81130-F2500$80.13 MSRP: $112.58You Save: $32.45 (29%)Ships in 1 Business Day
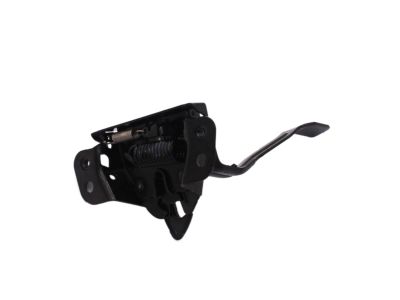
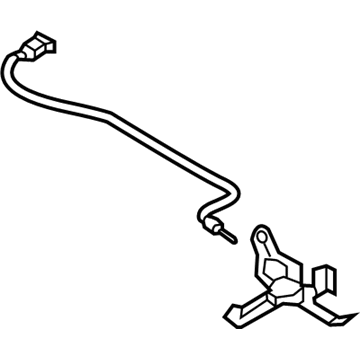
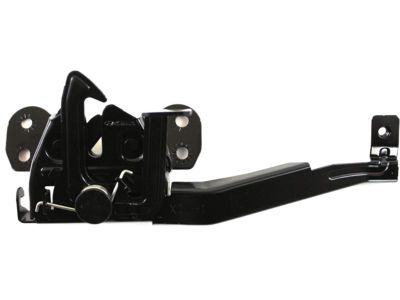
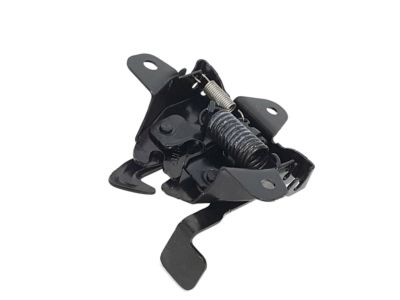
Hyundai Elantra Latch Assembly-Hood
Part Number: 81130-2D500$48.55 MSRP: $67.63You Save: $19.08 (29%)Ships in 1-3 Business Days
Hyundai Elantra Latch Assembly-Hood
Part Number: 81130-2H000$48.55 MSRP: $67.63You Save: $19.08 (29%)Ships in 1-3 Business DaysHyundai Elantra Latch Assembly-Hood
Part Number: 81130-AA000$79.92 MSRP: $112.29You Save: $32.37 (29%)Ships in 1-3 Business DaysHyundai Elantra Latch Assembly-Hood
Part Number: 81130-28000$39.48 MSRP: $54.98You Save: $15.50 (29%)Ships in 1-3 Business DaysHyundai Elantra Latch Assembly-Hood
Part Number: 81130-F2950$78.59 MSRP: $110.42You Save: $31.83 (29%)Ships in 1-3 Business DaysHyundai Elantra Latch Assembly-Hood
Part Number: 81130-28010$39.48 MSRP: $54.98You Save: $15.50 (29%)Ships in 1-3 Business DaysHyundai Elantra Latch Assembly-Hood
Part Number: 81130-28011$39.48 MSRP: $54.98You Save: $15.50 (29%)Ships in 1-3 Business DaysHyundai Elantra Latch Assembly-Hood
Part Number: 81130-29000$41.10 MSRP: $57.24You Save: $16.14 (29%)Ships in 1-3 Business DaysHyundai Elantra Latch Assembly-Hood
Part Number: 81130-29001$41.10 MSRP: $57.24You Save: $16.14 (29%)Ships in 1-3 Business DaysHyundai Elantra Latch Assembly-Hood
Part Number: 81130-2D000$48.55 MSRP: $67.63You Save: $19.08 (29%)Ships in 1-3 Business Days
Hyundai Elantra Hood Latch
Hyundai Elantra Hood Latch is one of its significant parts, which represent the general high quality and performance of the brand. Located underneath the front end of the hood, the Hood Latch is a very significant component since it helps hold the hood in place which can pop open at any time during driving. This feature not only increases the security of the Hyundai Elantra but also shields the important elements like the engine, radiator and battery. In different years of Hyundai Elantra production different models seem to incorporate this powerful Hood Latch in the vehicles' overall front-end design. The Hood Latch essentially helps enhance efficiency and safety of Hyundai Elantra by being constructed in a way that can easily endure the test of time and usage. Applicable across the different generations of the Elantra, it goes to show how important it is in the automotive industry that values reliability. Also on this subject, the Hood Latch of this car is designed with efficiency in that it comes with a simplified releasing mechanism that enables one pop up the hood in case of a mechanical checkup. This considerate design also improves accessibility while complimenting the already pragmatic nature of the Hyundai Elantra perfectly. Because the Hyundai Elantra Hood Latch combines safety, performance and superb user features, this is evidence of the company's commitment to producing quality automobiles that are innovative in the market.
If you are looking for affordable high-quality OEM Hyundai Elantra Hood Latch, then you have come to the prime place. Our website provides a large amount of genuine Hyundai Elantra Hood Latch at unbeatable prices. All our parts come backed with the manufacturer's warranty.
Hyundai Elantra Hood Latch Parts Questions & Experts Answers
- Q: How to install and remove a Hood Cable and Hood Latch on Hyundai Elantra?A:To install the latch, first scribe a line around it for alignment, marking its position before removal. For models from 2004 to 2016, excluding GT models, remove the plastic cover from the top of the radiator by prying up the center of each push-pin. For 2013 and later GT models and all 2017 and later models, remove the front Bumper. Next, take out the retaining bolts and nut securing the hood latch to the radiator support, and then remove the latch. Disengage the cable from the latch assembly using a small screwdriver. Installation follows the reverse order of removal, ensuring the latch is adjusted so the hood engages securely when closed, with the hood bumpers slightly compressed. To work on the cable, disconnect the hood cable from the latch assembly and attach a piece of thin wire or string to the end of the cable, unclipping all remaining cable retaining clips at the radiator support. For models from 2010 and earlier, remove the hood release handle mounting screws under the dash to detach the handle and cable assembly. For models from 2011 and later, the handle is mounted on the kick panel; remove the center screw, pull off the handle, and disengage the kick panel fasteners to access the cable. Pull the cable and grommet rearward into the passenger compartment until the wire or string is visible. Ensure the new cable has a grommet attached, then remove the wire or string from the old cable and fasten it to the new cable. With the new cable attached, pull the wire or string back through the firewall until the new cable reaches the latch assembly. Finally, install the new cable and handle assembly in the passenger compartment, completing the installation in reverse order of removal.
Related Hyundai Elantra Parts
Browse by Year
2023 Hood Latch 2022 Hood Latch 2021 Hood Latch 2020 Hood Latch 2019 Hood Latch 2018 Hood Latch 2017 Hood Latch 2016 Hood Latch 2015 Hood Latch 2014 Hood Latch 2013 Hood Latch 2012 Hood Latch 2011 Hood Latch 2010 Hood Latch 2009 Hood Latch 2008 Hood Latch 2007 Hood Latch 2006 Hood Latch 2005 Hood Latch 2004 Hood Latch 2003 Hood Latch 2002 Hood Latch 2001 Hood Latch 2000 Hood Latch 1999 Hood Latch 1998 Hood Latch 1997 Hood Latch 1996 Hood Latch 1995 Hood Latch 1994 Hood Latch 1993 Hood Latch 1992 Hood Latch 1991 Hood Latch


