×
- Hello
- Login or Register
- Quick Links
- Live Chat
- Track Order
- Parts Availability
- RMA
- Help Center
- Contact Us
- Shop for
- Hyundai Parts
- Hyundai Accessories


My Garage
My Account
Cart
Genuine Hyundai Excel Flywheel
Clutch Flywheel- Select Vehicle by Model
- Select Vehicle by VIN
Select Vehicle by Model
orMake
Model
Year
Select Vehicle by VIN
For the most accurate results, select vehicle by your VIN (Vehicle Identification Number).
2 Flywheels found
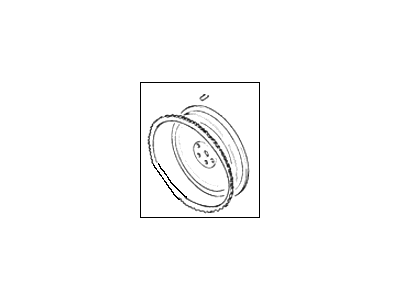
Hyundai Excel FLYWHEEL Assembly
Part Number: 23200-24500$301.35 MSRP: $423.39You Save: $122.04 (29%)Ships in 1-3 Business DaysHyundai Excel FLYWHEEL Assembly
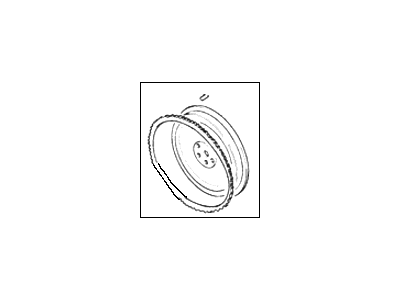
Part Number: 23200-21000$131.64 MSRP: $184.95You Save: $53.31 (29%)Ships in 1-3 Business Days
Hyundai Excel Flywheel
If you are looking for affordable high-quality OEM Hyundai Excel Flywheel, then you have come to the prime place. Our website provides a large amount of genuine Hyundai Excel Flywheel at unbeatable prices. All our parts come backed with the manufacturer's warranty.
Hyundai Excel Flywheel Parts Questions & Experts Answers
- Q: How to remove and install the flywheel or driveplate on 2011 and earlier Hyundai Excel?A:To remove the flywheel on manual transaxle models, first, detach the transaxle and then take out the clutch assembly. Make alignment marks between the flywheel and crankshaft using paint or a marker pen. Use a flywheel holding tool or wedge a large screwdriver in the flywheel ring gear teeth to keep it stationary, then loosen and remove the flywheel retaining bolts before taking out the flywheel, being cautious not to drop it due to its weight. For automatic transaxle models, remove the transaxle and make alignment marks between the driveplate and crankshaft. Loosen and remove the retaining bolts to take out the driveplate, along with any spacers on each side. For inspection, check the flywheel on manual transaxle models for scoring on the clutch face and wear or chipping of the ring gear teeth; if damaged, surface grinding may be possible, but replacement is preferable. On automatic transaxle models, inspect the torque converter driveplate for distortion and any cracks around the bolt holes; any signs of wear or damage necessitate replacement. For installation, clean the mating surfaces of the flywheel or driveplate, spacers, and crankshaft, and reinstall the locating dowel if it was removed. Apply thread-locking compound to the retaining bolt threads, align the previously made marks, and install the flywheel or driveplate, ensuring the bolts are unequally spaced and only align in one position. Hold the flywheel or driveplate stationary while tightening the retaining bolts to the specified torque, then install the clutch for manual transaxle models and finally reinstall the transaxle.


