×
- Hello
- Login or Register
- Quick Links
- Live Chat
- Track Order
- Parts Availability
- RMA
- Help Center
- Contact Us
- Shop for
- Hyundai Parts
- Hyundai Accessories


My Garage
My Account
Cart
Genuine Hyundai Santa Fe Camshaft Seal
Cam Seal- Select Vehicle by Model
- Select Vehicle by VIN
Select Vehicle by Model
orMake
Model
Year
Select Vehicle by VIN
For the most accurate results, select vehicle by your VIN (Vehicle Identification Number).
5 Camshaft Seals found

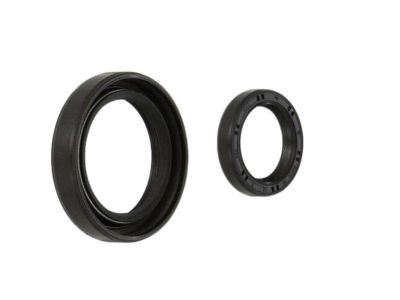
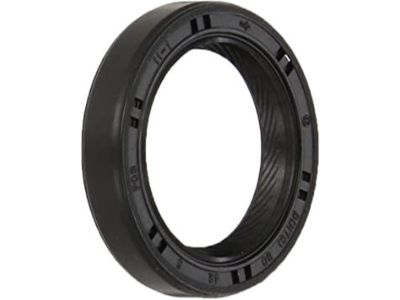
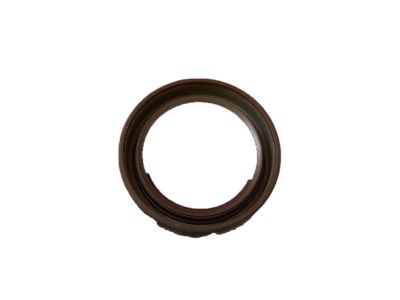
Hyundai Santa Fe Seal-Oil
Part Number: 22144-39001$23.66 MSRP: $30.58You Save: $6.92 (23%)Ships in 1-3 Business Days
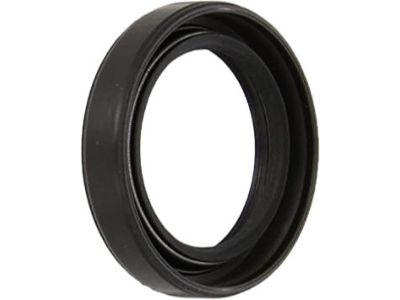
Hyundai Santa Fe Seal-Oil
Part Number: 22144-37101$22.13 MSRP: $28.60You Save: $6.47 (23%)Ships in 1-3 Business DaysHyundai Santa Fe Seal-Oil
Part Number: 22144-3B000$25.61 MSRP: $35.68You Save: $10.07 (29%)Ships in 1-3 Business DaysHyundai Santa Fe Seal-Oil
Part Number: 22144-37100$22.13 MSRP: $28.60You Save: $6.47 (23%)Ships in 1-3 Business DaysHyundai Santa Fe Seal-Oil
Part Number: 22144-39000$23.66 MSRP: $30.58You Save: $6.92 (23%)Ships in 1-3 Business Days
Hyundai Santa Fe Camshaft Seal
If you are looking for affordable high-quality OEM Hyundai Santa Fe Camshaft Seal, then you have come to the prime place. Our website provides a large amount of genuine Hyundai Santa Fe Camshaft Seal at unbeatable prices. All our parts come backed with the manufacturer's warranty.
Hyundai Santa Fe Camshaft Seal Parts Questions & Experts Answers
- Q: How to replace the camshaft seal and crankshaft seal on a V6 Hyundai Santa Fe?A:For the crankshaft front oil seal on 2001 through 2006 models and 2007 and later 2.7L models, remove the Timing Belt and crankshaft sprocket, then slip off the sensor ring and the spacer behind it. For 3.3L and 2010 and later 3.5L engines, remove the crankshaft pulley. Carefully pry the seal out using a screwdriver or seal removal tool, ensuring not to scratch the housing bore or damage the crankshaft, as this could lead to leaks with the new seal. Clean the bore in the engine and coat the outer edge of the new seal with engine oil or multi-purpose grease, applying the same grease to the seal lip. Using a seal driver or a socket slightly smaller than the outer diameter of the seal, carefully drive the new seal into place with a hammer, ensuring it is installed squarely and to the same depth as the original, checking afterward to confirm the spring did not pop out of place. Reinstall the components removed for access and run the engine to check for oil leaks at the front seal. For the crankshaft rear oil seal, follow the appropriate procedures. For camshaft oil seals, applicable only to timing belt engines, remove the timing belt and camshaft sprockets, noting how far the seals are installed in the bores before prying them out with a screwdriver wrapped in tape to avoid scratching. Clean the bores and coat the outer edge of the new seals with oil or grease, applying grease to the lips as well. Using a seal driver or a socket slightly smaller than the outer edge of the seal, carefully drive the new seals into place with a hammer, ensuring they are installed square and to the same depth as the originals. Install all removed components, ensuring the belt and sprockets are correctly aligned, and clean around the seals to detect any leaks later. Operate the vehicle for a few days and then check for leaks.
