×
- Hello
- Login or Register
- Quick Links
- Live Chat
- Track Order
- Parts Availability
- RMA
- Help Center
- Contact Us
- Shop for
- Hyundai Parts
- Hyundai Accessories


My Garage
My Account
Cart
Genuine Hyundai Santa Fe Flywheel
Clutch Flywheel- Select Vehicle by Model
- Select Vehicle by VIN
Select Vehicle by Model
orMake
Model
Year
Select Vehicle by VIN
For the most accurate results, select vehicle by your VIN (Vehicle Identification Number).
16 Flywheels found

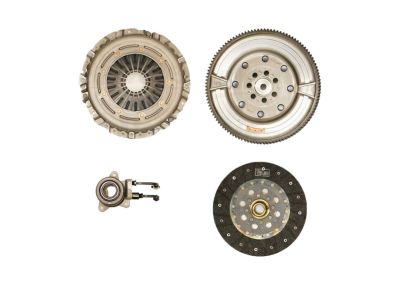
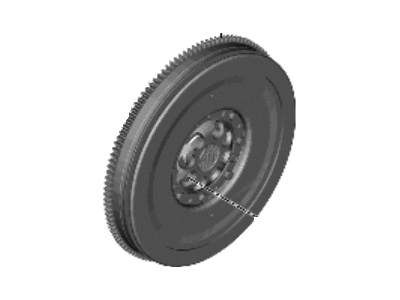
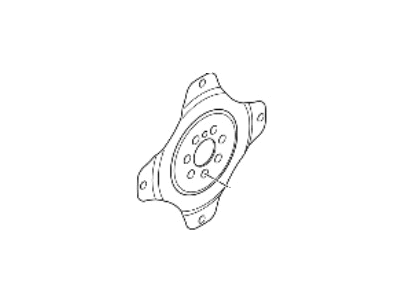
Hyundai Santa Fe Flywheel-Dual Mass
Part Number: 23200-2G210$872.35 MSRP: $1247.35You Save: $375.00 (31%)Ships in 1-3 Business DaysHyundai Santa Fe Crank Position Sensor Wheel
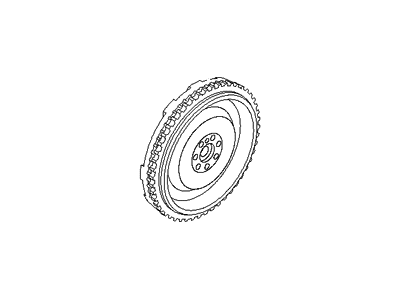
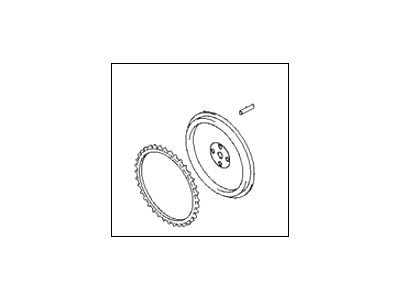
Part Number: 23200-3C140$103.72 MSRP: $145.72You Save: $42.00 (29%)Ships in 1-3 Business DaysHyundai Santa Fe Crank Position Sensor Wheel
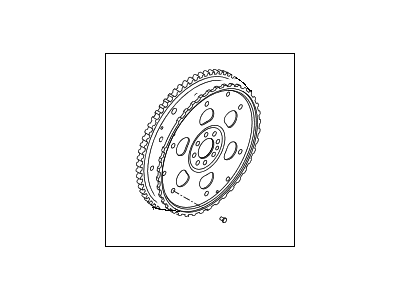
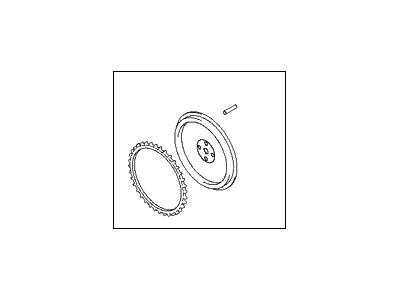
Part Number: 23200-3C142$118.44 MSRP: $166.40You Save: $47.96 (29%)Ships in 1-3 Business DaysHyundai Santa Fe FLYWHEEL Assembly
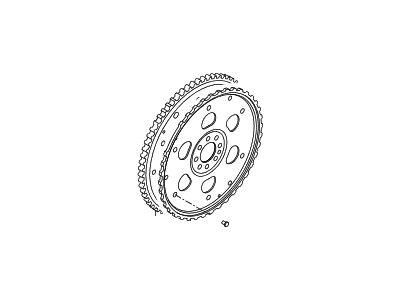
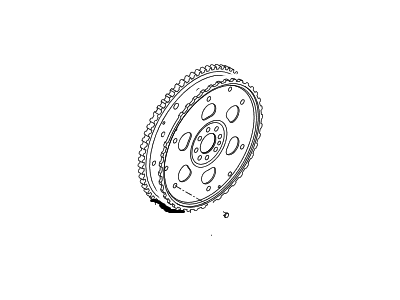
Part Number: 23260-38220$1434.79 MSRP: $2051.58You Save: $616.79 (31%)Ships in 1-3 Business DaysHyundai Santa Fe Crank Position Sensor Wheel
Part Number: 23200-3C143$109.73 MSRP: $154.16You Save: $44.43 (29%)Ships in 1-3 Business DaysHyundai Santa Fe FLYWHEEL Assembly
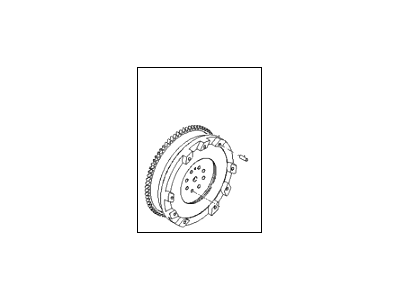
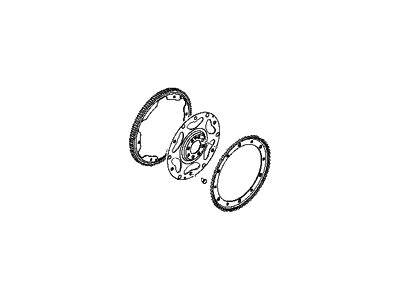
Part Number: 23210-38011$341.50 MSRP: $479.79You Save: $138.29 (29%)Ships in 1-3 Business DaysHyundai Santa Fe FLYWHEEL Assembly
Part Number: 23200-3E001$344.20 MSRP: $487.84You Save: $143.64 (30%)Ships in 1-3 Business DaysHyundai Santa Fe FLYWHEEL Assembly
Part Number: 23200-2S500$1415.87 MSRP: $2024.52You Save: $608.65 (31%)Ships in 1-3 Business DaysHyundai Santa Fe FLYWHEEL ASSY
Part Number: 23200-2S510$1415.87 MSRP: $2024.52You Save: $608.65 (31%)Ships in 1-3 Business DaysHyundai Santa Fe FLYWHEEL ASSY
Part Number: 23200-2S520$1415.87 MSRP: $2024.52You Save: $608.65 (31%)Hyundai Santa Fe FLYWHEEL Assembly
Part Number: 23260-38200$1434.79 MSRP: $2051.58You Save: $616.79 (31%)Ships in 1-3 Business DaysHyundai Santa Fe FLYWHEEL Assembly
Part Number: 23260-38201$1434.79 MSRP: $2051.58You Save: $616.79 (31%)Ships in 1-3 Business DaysHyundai Santa Fe FLYWHEEL Assembly
Part Number: 23260-38202$1434.79 MSRP: $2051.58You Save: $616.79 (31%)Ships in 1-3 Business DaysHyundai Santa Fe FLYWHEEL Assembly
Part Number: 23260-38210$1434.79 MSRP: $2051.58You Save: $616.79 (31%)Ships in 1-3 Business Days
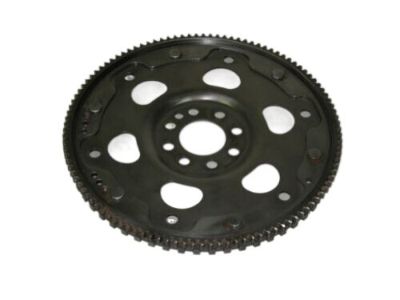
Hyundai Santa Fe Flywheel
If you are looking for affordable high-quality OEM Hyundai Santa Fe Flywheel, then you have come to the prime place. Our website provides a large amount of genuine Hyundai Santa Fe Flywheel at unbeatable prices. All our parts come backed with the manufacturer's warranty.
Hyundai Santa Fe Flywheel Parts Questions & Experts Answers
- Q: How to remove and insatall Flywheel on Hyundai Santa Fe?A:To remove the components you have to first unplug the cable from the terminal of the battery that is negative with the help of a screwdriver. Next, remove the transaxle. Applying alignment paste or paint, mark the center of the crankshaft flange and flywheel or the driveplate, so that their correct alignment is possible during their assembly. Loosen the bolts that holds the flywheel/driveplate to the crankshaft but do not remove them by using a convenient flywheel/driveplate holding tool or wedge a screwdriver or pry bar through one of the holes in the driveplate and thus preventing it from turning as new bolts are being inserted. It is important to also note the kind and positions of spacers that are to be removed along with the flywheel/drive plate. For installation the driveplate should be examined for the presence of any possible cracks or other kinds of damages. Place the driveplate on the crankshaft flange with the corresponding to the marks made before the removal, the bolt holes, though some models may have a scattered pattern. Put non-hardening thread locking compound on the threads of the bolts, then place it then tighten each bolt in a crisscross pattern to the working torque in steps up to the final torque. Finally, install the transaxle.
Related Hyundai Santa Fe Parts
Browse by Year
2023 Flywheel 2022 Flywheel 2021 Flywheel 2018 Flywheel 2017 Flywheel 2016 Flywheel 2015 Flywheel 2014 Flywheel 2013 Flywheel 2012 Flywheel 2011 Flywheel 2010 Flywheel 2009 Flywheel 2008 Flywheel 2007 Flywheel 2006 Flywheel 2005 Flywheel 2004 Flywheel 2003 Flywheel 2002 Flywheel 2001 Flywheel 2000 Flywheel
