×
- Hello
- Login or Register
- Quick Links
- Live Chat
- Track Order
- Parts Availability
- RMA
- Help Center
- Contact Us
- Shop for
- Hyundai Parts
- Hyundai Accessories


My Garage
My Account
Cart
Genuine Hyundai Santa Fe Horn
Alarm Horn- Select Vehicle by Model
- Select Vehicle by VIN
Select Vehicle by Model
orMake
Model
Year
Select Vehicle by VIN
For the most accurate results, select vehicle by your VIN (Vehicle Identification Number).
16 Horns found

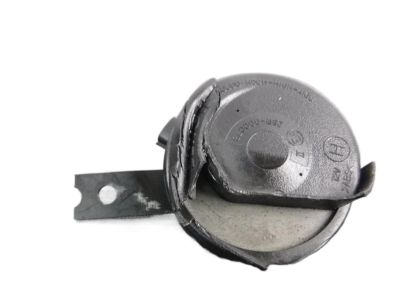
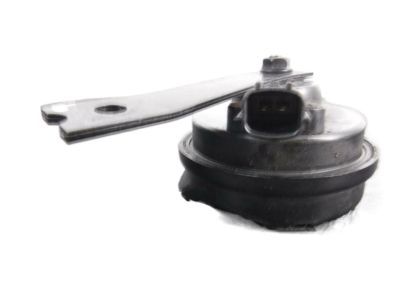
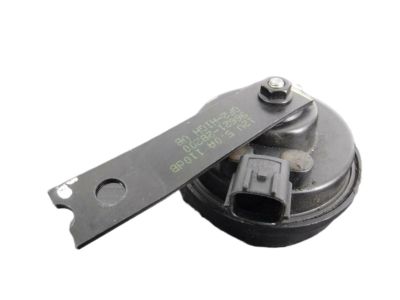
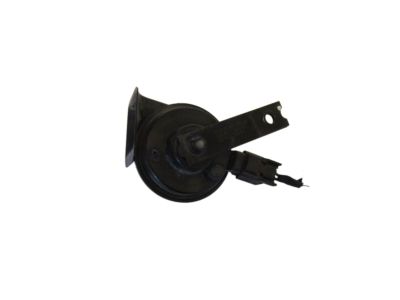
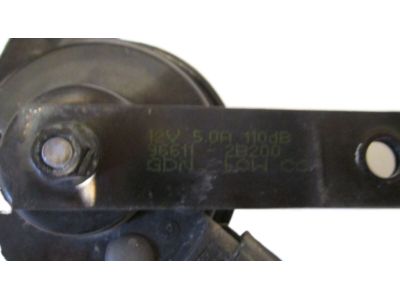
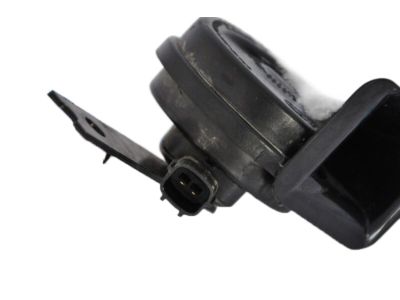
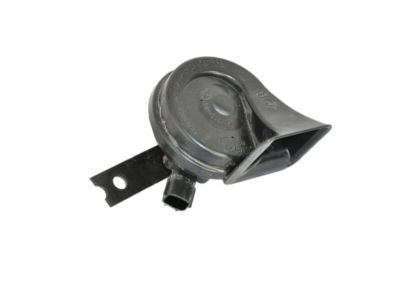
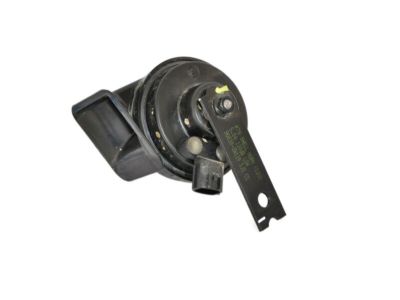
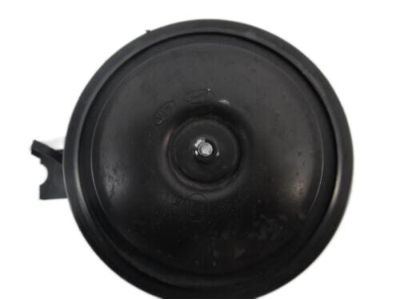
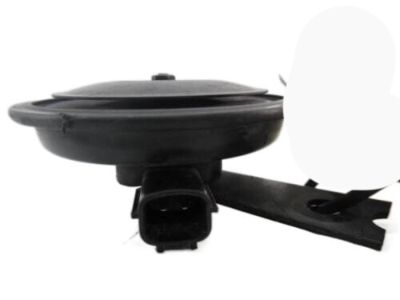
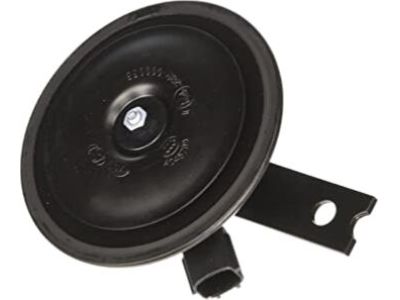
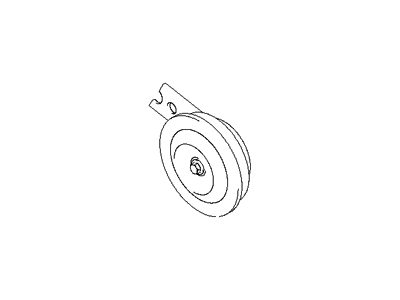
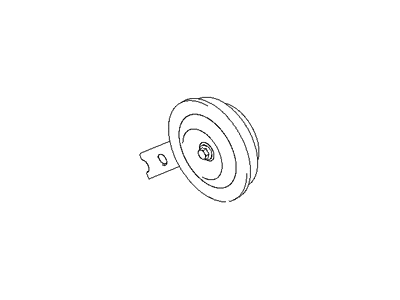
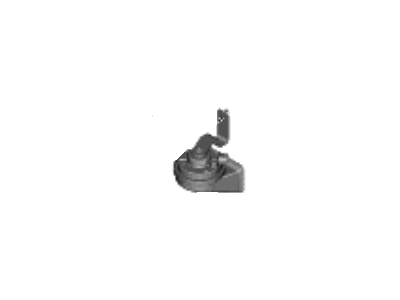
Hyundai Santa Fe Horn Assembly-High Pitch
Part Number: 96621-2B200$102.25 MSRP: $143.66You Save: $41.41 (29%)Ships in 1-3 Business Days
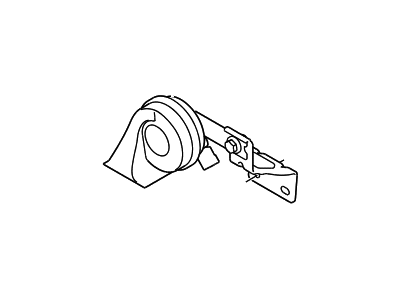
Hyundai Santa Fe Horn Assembly-Low Pitch
Part Number: 96611-2B200$72.48 MSRP: $101.84You Save: $29.36 (29%)Ships in 1-3 Business Days
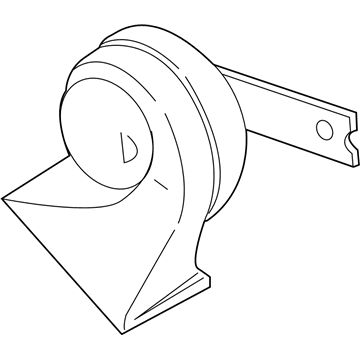
Hyundai Santa Fe Horn Assembly-Low Pitch
Part Number: 96610-2W110$110.72 MSRP: $155.56You Save: $44.84 (29%)Ships in 1-3 Business Days
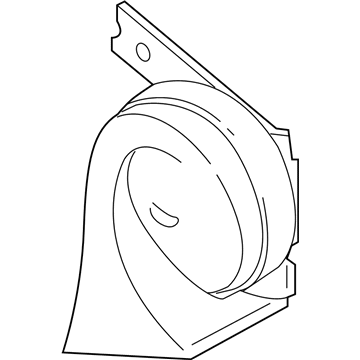
Hyundai Santa Fe Horn Assembly-High Pitch
Part Number: 96620-26100$81.00 MSRP: $113.81You Save: $32.81 (29%)Ships in 1-3 Business DaysHyundai Santa Fe Horn Assembly-High Pitch
Part Number: 96620-2W210$133.90 MSRP: $188.13You Save: $54.23 (29%)Ships in 1-3 Business DaysHyundai Santa Fe Horn Assembly-Low Pitch
Part Number: 96611-S1000$70.75 MSRP: $99.40You Save: $28.65 (29%)Ships in 1-3 Business DaysHyundai Santa Fe Horn Assembly-High Pitch
Part Number: 96621-S1000$67.74 MSRP: $95.18You Save: $27.44 (29%)Ships in 1-3 Business DaysHyundai Santa Fe Horn Assembly-Low Pitch
Part Number: 96611-L2000$34.22 MSRP: $47.66You Save: $13.44 (29%)Ships in 1-3 Business DaysHyundai Santa Fe Horn Assembly-High Pitch
Part Number: 96621-S1500$32.93 MSRP: $45.87You Save: $12.94 (29%)Ships in 1-3 Business DaysHyundai Santa Fe Horn Assembly-Burglar Alarm
Part Number: 96630-2W000$85.84 MSRP: $120.60You Save: $34.76 (29%)Ships in 1-3 Business DaysHyundai Santa Fe Horn Assembly-Low Pitch
Part Number: 96610-38100$73.27 MSRP: $102.94You Save: $29.67 (29%)Ships in 1-3 Business DaysHyundai Santa Fe Horn Assembly-High Pitch
Part Number: 96620-27100$81.00 MSRP: $113.81You Save: $32.81 (29%)Ships in 1-3 Business DaysHyundai Santa Fe Horn Assembly-Burglar Alarm
Part Number: 96620-2B500$108.33 MSRP: $152.19You Save: $43.86 (29%)Ships in 1-3 Business DaysHyundai Santa Fe HORN ASSY-HIGH PITCH
Part Number: 96621-S1600$23.39 MSRP: $30.23You Save: $6.84 (23%)Ships in 1-2 Business DaysHyundai Santa Fe Horn Assembly-Low Pitch
Part Number: 96610-38102$73.27 MSRP: $102.94You Save: $29.67 (29%)Ships in 1-3 Business DaysHyundai Santa Fe HORN ASSY-LOW PITCH
Part Number: 96611-S1600$22.78 MSRP: $29.44You Save: $6.66 (23%)Ships in 1-2 Business Days
Hyundai Santa Fe Horn
If you are looking for affordable high-quality OEM Hyundai Santa Fe Horn, then you have come to the prime place. Our website provides a large amount of genuine Hyundai Santa Fe Horn at unbeatable prices. All our parts come backed with the manufacturer's warranty.
Hyundai Santa Fe Horn Parts Questions & Experts Answers
- Q: How to check and replace the horn in a Hyundai Santa Fe?A:Before carrying out electrical diagnosis, first of all, it is necessary to check the fuses. Remove the wires from the horn connection point; the wires should be connected through an electrical connector. To check the horn, attach battery voltage to the horn terminal with a jumper wire; if the horn does not go off, replace it. If the horn shall sound, then probe for the voltage in the terminal when the horn button is pressed. If there is voltage in the terminal, suspect a poor ground at the horn. If you don't get any voltage at the horn you should look at the Relay. If the relay seems to be good, test voltage to the relay power and control circuits: if neither is getting voltage, check the wiring between the relay and the fuse panel. If both relay circuits are getting voltage, silence the horn button and measure the circuit from relay to the horn button for ground. If not, look into the circuit for an open; if there's no open circuit, then change the horn button. If the continuity persist to ground through the horn button, you should look for an open or short in the circuit from relay to horn. There are two horns: on the one hand, it is mounted behind the left Headlight assembly and on the other hand it is mounted at central part of vehicle in front of the condenser of most models. To get to the horn located in the center of the base, the bumper cover has to be disconnected. Lift off the nut and bolt and advance the wires to get the left headlight housing out consequently we have access to the left horn. If this bolt is removed, installation is the reversing of the removal process followed by reinsertion of the bracket bolt as a final step.
