×
- Hello
- Login or Register
- Quick Links
- Live Chat
- Track Order
- Parts Availability
- RMA
- Help Center
- Contact Us
- Shop for
- Hyundai Parts
- Hyundai Accessories


My Garage
My Account
Cart
Genuine Hyundai Sonata Ball Joint
Control Arm Joint- Select Vehicle by Model
- Select Vehicle by VIN
Select Vehicle by Model
orMake
Model
Year
Select Vehicle by VIN
For the most accurate results, select vehicle by your VIN (Vehicle Identification Number).
12 Ball Joints found

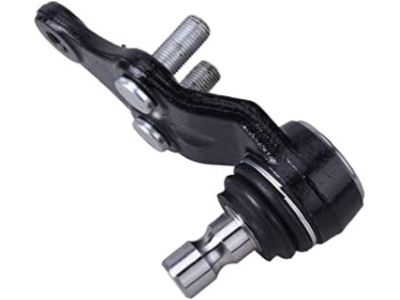
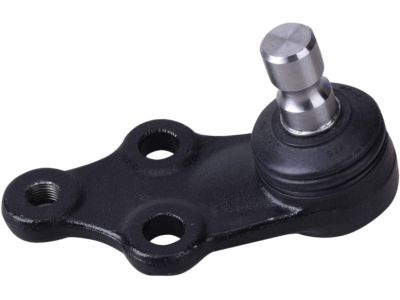
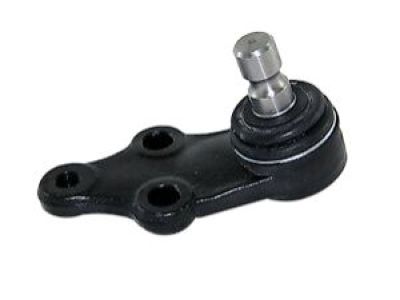
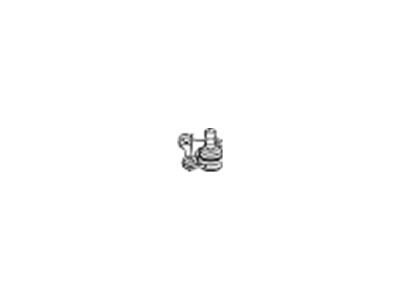
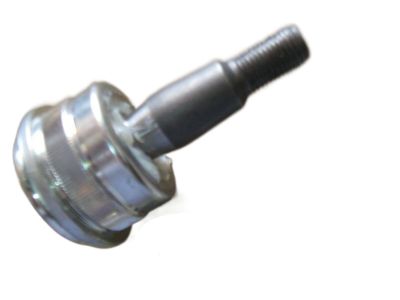
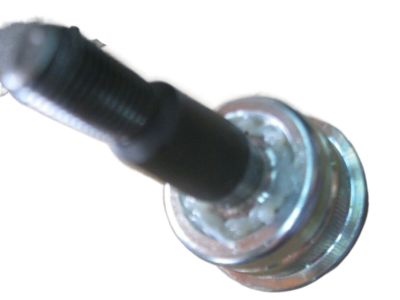
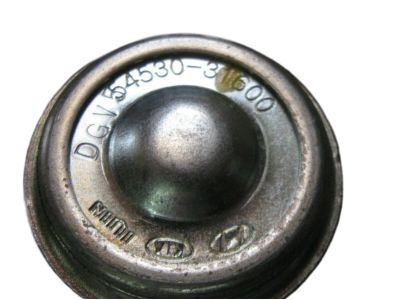
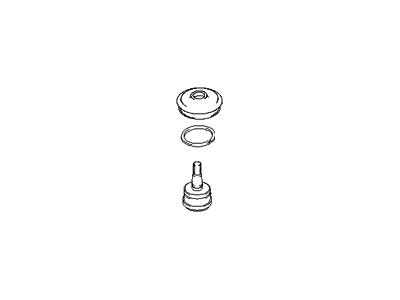
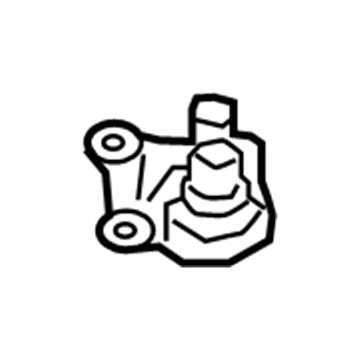
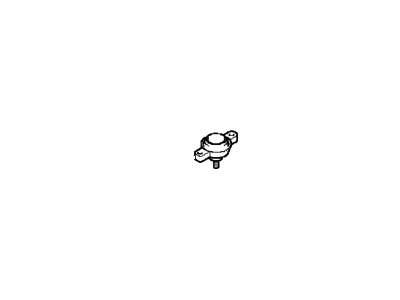
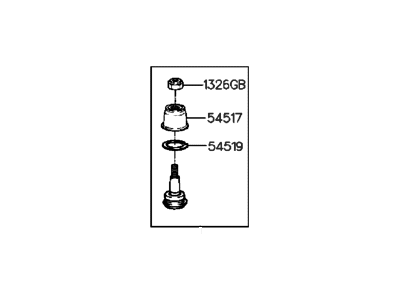
Hyundai Sonata Ball Joint Assembly-Lower Arm
Part Number: 54530-3S100$95.59 MSRP: $134.31You Save: $38.72 (29%)Ships in 1-2 Business Days
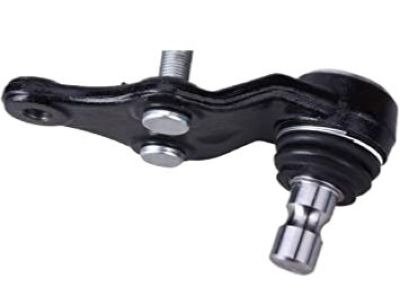
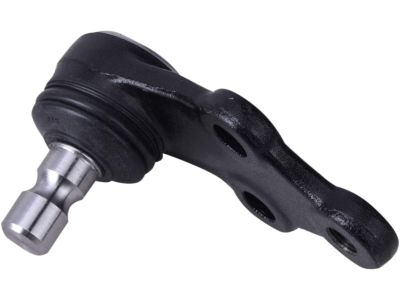
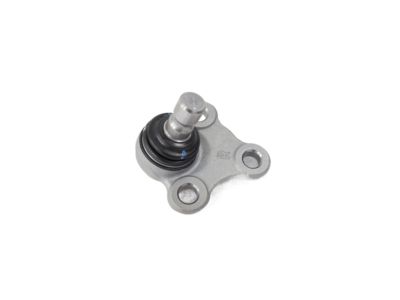
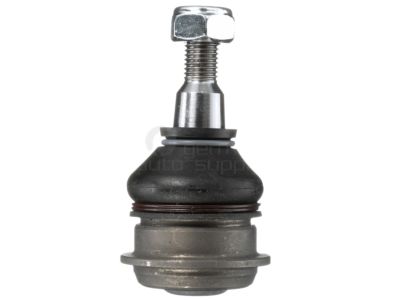
Hyundai Sonata Ball Joint Assembly-Lower Arm
Part Number: 54530-3S000$95.59 MSRP: $134.31You Save: $38.72 (29%)Ships in 1-2 Business Days
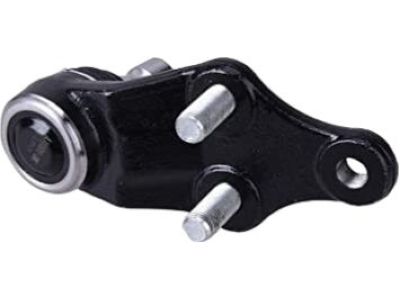
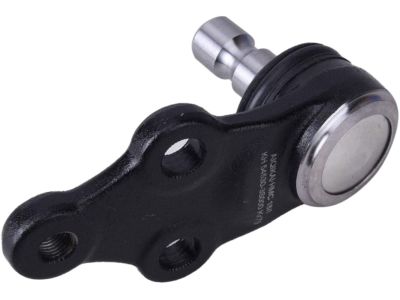
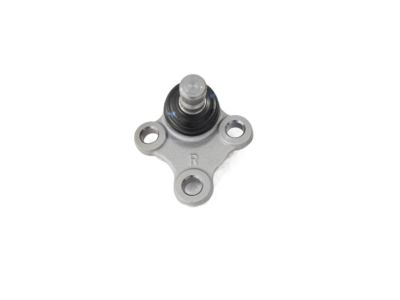
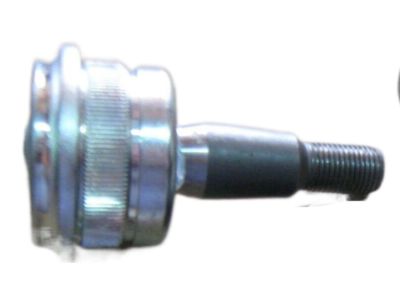
Hyundai Sonata Ball Joint Assembly-Lower Arm RH
Part Number: 54530-C1100$89.28 MSRP: $125.44You Save: $36.16 (29%)Ships in 1-3 Business Days
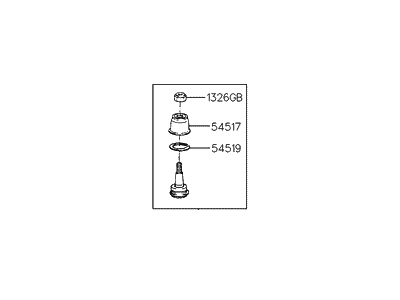
Hyundai Sonata Ball Joint Kit-Suspension Upper Arm Front
Part Number: 54403-38A00$62.19 MSRP: $87.37You Save: $25.18 (29%)Ships in 1-3 Business Days
Hyundai Sonata Ball Joint Kit-Rear Suspension Center
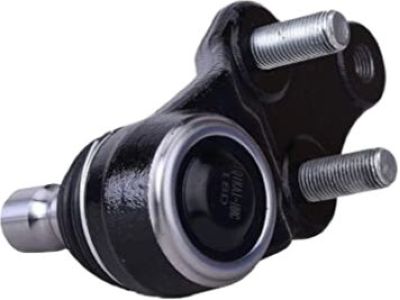
Part Number: 54503-38A00$78.70 MSRP: $110.56You Save: $31.86 (29%)Ships in 1-3 Business DaysHyundai Sonata Ball Joint Assembly-Lower Arm,LH
Part Number: 54530-C1000$89.28 MSRP: $125.44You Save: $36.16 (29%)Ships in 1-3 Business DaysHyundai Sonata Ball Joint-Assembly
Part Number: 54430-3F600$69.64 MSRP: $97.84You Save: $28.20 (29%)Ships in 1-3 Business DaysHyundai Sonata Ball Joint-Assembly
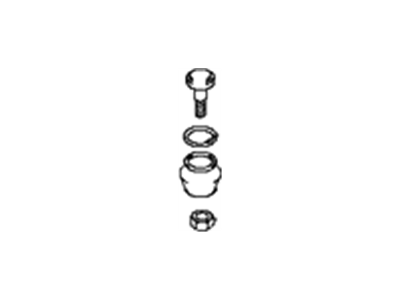
Part Number: 54430-3K000$69.64 MSRP: $97.84You Save: $28.20 (29%)Ships in 1-3 Business DaysHyundai Sonata Ball Joint Kit-Suspension Lower Arm
Part Number: 54503-34A00$47.05 MSRP: $65.53You Save: $18.48 (29%)Ships in 1-3 Business DaysHyundai Sonata Ball Joint Kit
Part Number: 51761-38A00$171.50 MSRP: $240.95You Save: $69.45 (29%)Ships in 1-3 Business DaysHyundai Sonata Ball Joint Kit-Suspension Lower Arm
Part Number: 54503-31600$78.70 MSRP: $110.56You Save: $31.86 (29%)Ships in 1-3 Business DaysHyundai Sonata Ball Joint Kit-Suspension Lower Arm
Part Number: 54503-34A01$47.05 MSRP: $65.53You Save: $18.48 (29%)Ships in 1-3 Business Days
Hyundai Sonata Ball Joint
If you are looking for affordable high-quality OEM Hyundai Sonata Ball Joint, then you have come to the prime place. Our website provides a large amount of genuine Hyundai Sonata Ball Joint at unbeatable prices. All our parts come backed with the manufacturer's warranty.
Hyundai Sonata Ball Joint Parts Questions & Experts Answers
- Q: How to replace the ball joint during maintenance on a Hyundai Sonata?A:Loosen the wheel lug nuts on the side to be dismantled, raise the front of the vehicle, support it securely on jackstands, and remove the wheel. Place a floor jack under the lower Control Arm to support it. Remove the cotter pin and loosen the nut on the lower balljoint a few turns, ensuring that loosening the nut without removing it prevents violent separation of the balljoint and control arm. Unbolt the lower balljoint from the Steering Knuckle. Attach a balljoint/tie-rod end removal tool to the balljoint; a separator tool available at most automotive parts stores will not damage the balljoint boot when used correctly, while a pickle fork-type tool can be used only if the balljoint is to be replaced, as it will damage the rubber boot. Tighten the tool to break the balljoint free of the lower control arm, then remove the nut and detach the balljoint from the control arm. Installation follows the reverse order of removal, ensuring all fasteners are tightened to the specified torque values. If the balljoint has excessive play, the entire upper control arm must be replaced, as the balljoint was not available separately at the time of writing.
Related Hyundai Sonata Parts
Browse by Year
2017 Ball Joint 2016 Ball Joint 2015 Ball Joint 2014 Ball Joint 2013 Ball Joint 2012 Ball Joint 2011 Ball Joint 2010 Ball Joint 2009 Ball Joint 2008 Ball Joint 2007 Ball Joint 2006 Ball Joint 2005 Ball Joint 2004 Ball Joint 2003 Ball Joint 2002 Ball Joint 2001 Ball Joint 2000 Ball Joint 1999 Ball Joint 1998 Ball Joint 1997 Ball Joint 1996 Ball Joint 1995 Ball Joint 1994 Ball Joint 1993 Ball Joint 1992 Ball Joint 1991 Ball Joint 1990 Ball Joint 1989 Ball Joint 1988 Ball Joint
