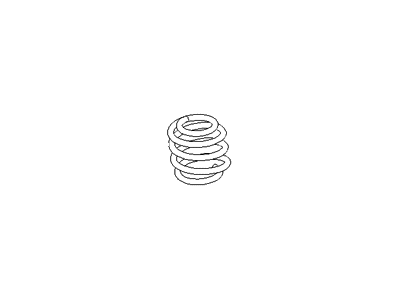
Before proceeding with any operations to the shocks or the coil springs be aware of the following, If they are leaking fluid, don't have the damping ability they used to have or if they are damaged physically, with chips or cracks or if they are late then it is high time to consider all options. Thus, the shock absorber assemblies are non-repairable and require replacement if problems are identified with them. Ensure that you have the cost of the part that you want to replace and its availability before you remove the car parts. Special attention should be taken when dismantling a coil-over shock absorber as it is dangerous; use a good spring compressor and read manufacturer's guidelines. Coil spring can be dangerous if accidentally compressed, and therefore when removing it from the shock absorber assembly, should be put in a secure place. To inspect and service, you need to first disconnect the shock absorber and the spring assembly, which should have a soft wooden wedge or cloth between it and the vise. Installing the spring compressor according to the instruction of the tool manufacturer compress the spring until the top seat of the spring has no pressure after snapping the spring. Loosen the damper shaft nut then take off the nut together with the other upper supports It is wise to arrange the components and at the same time inspect the rubber of suspension support for any signs of wear and tear. Rocker spindle nut in favor fully eliminates the upper spring seat and check for the signs of crack and hardness of the component, if possible replace. Take a moment to grasp the range force spring of the assembly, with its ends directed away from your body, and place it aside. Remove the rubber bumper to the damper shaft or slide it off and inspect the lower insulator to see if it has worn out and should be replaced. In assembly, if replacing the lower insulator, it should be fitted right and pull Damper rod to locate the Rubber bumper. Lay the coil spring on the lower insulator and have the end touching appropriately with paint marks facing outside. Screw in the upper insulator also screw in the spring seat ensuring that the flats in the spring seat face the flats on the damper shaft. Ensure that the damper nut is tightened to the recommended torque with the holes in the spring seats still aligned, subsequently, pull the stock absorber/spring assembly with the spring compressor tool and install it.