×
- Hello
- Login or Register
- Quick Links
- Live Chat
- Track Order
- Parts Availability
- RMA
- Help Center
- Contact Us
- Shop for
- Hyundai Parts
- Hyundai Accessories


My Garage
My Account
Cart
Genuine Hyundai Santa Fe Steering Knuckle
Front Steering Knuckle- Select Vehicle by Model
- Select Vehicle by VIN
Select Vehicle by Model
orMake
Model
Year
Select Vehicle by VIN
For the most accurate results, select vehicle by your VIN (Vehicle Identification Number).
25 Steering Knuckles found

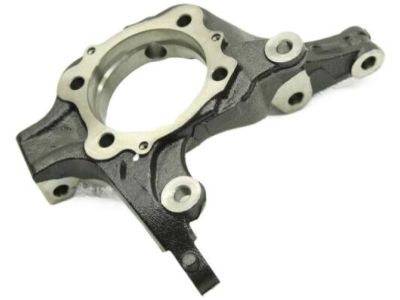
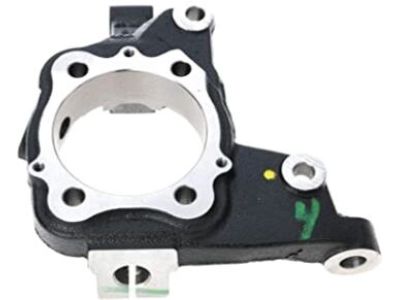
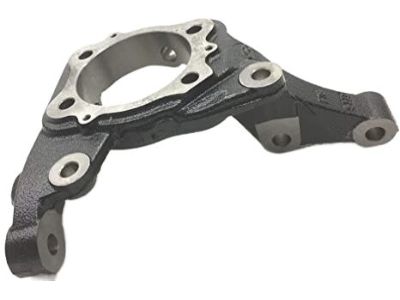
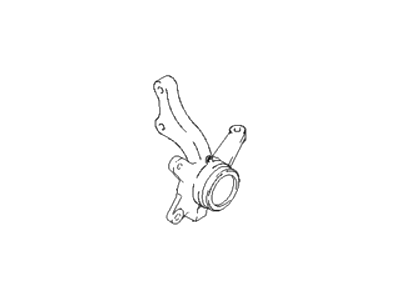
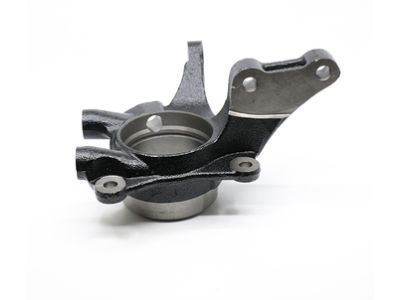
Hyundai Santa Fe Knuckle-Front Axle,LH
Part Number: 51715-2W500$397.26 MSRP: $563.05You Save: $165.79 (30%)Ships in 1-3 Business Days
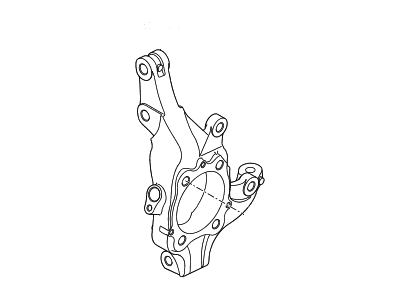
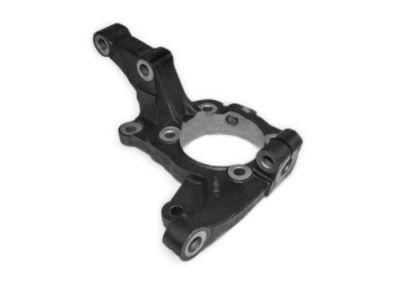
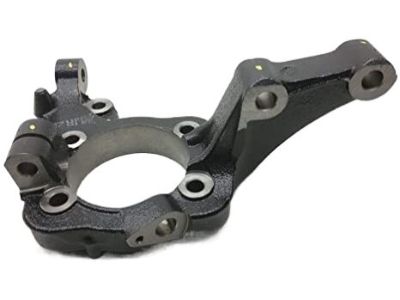
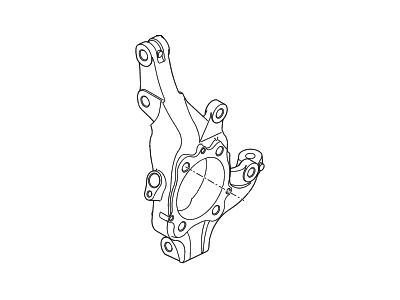
Hyundai Santa Fe Knuckle-Front Axle,RH
Part Number: 51711-S1100$706.85 MSRP: $1010.71You Save: $303.86 (31%)Ships in 1-3 Business Days
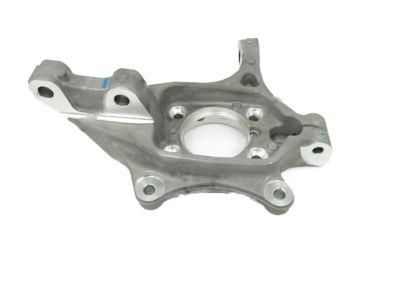
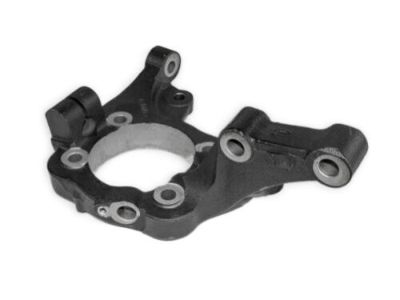
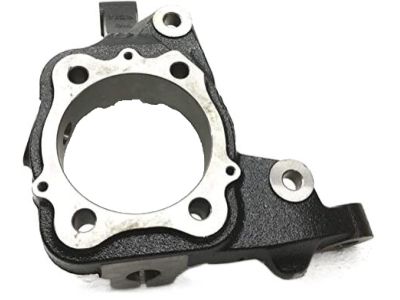
Hyundai Santa Fe Knuckle-Front Axle,LH
Part Number: 51715-1U000$353.55 MSRP: $501.10You Save: $147.55 (30%)Ships in 1-3 Business Days
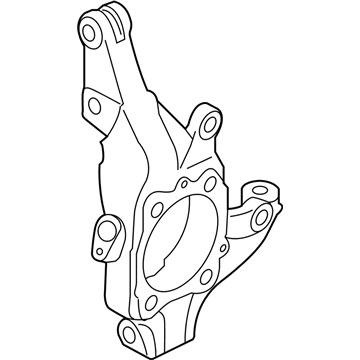
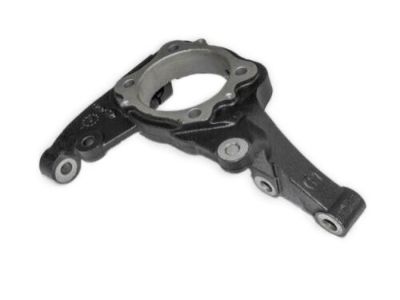
Hyundai Santa Fe Knuckle-Front Axle,LH
Part Number: 51715-0W000$353.55 MSRP: $501.10You Save: $147.55 (30%)Ships in 1-3 Business DaysHyundai Santa Fe Knuckle-Front Axle,LH
Part Number: 51710-S1100$706.85 MSRP: $1010.71You Save: $303.86 (31%)Ships in 1-3 Business DaysHyundai Santa Fe Knuckle-Front Axle,RH
Part Number: 51716-2W500$397.26 MSRP: $563.05You Save: $165.79 (30%)Ships in 1-3 Business DaysHyundai Santa Fe Knuckle-Front Axle,RH
Part Number: 51716-2W000$364.16 MSRP: $516.13You Save: $151.97 (30%)Ships in 1-3 Business DaysHyundai Santa Fe Knuckle-Front Axle,LH
Part Number: 51710-S1000$706.85 MSRP: $1010.71You Save: $303.86 (31%)Ships in 1-3 Business DaysHyundai Santa Fe Knuckle-Front Axle,RH
Part Number: 51716-1U000$353.55 MSRP: $501.10You Save: $147.55 (30%)Ships in 1-3 Business DaysHyundai Santa Fe Knuckle-Front Axle,LH
Part Number: 51715-2W000$364.16 MSRP: $516.13You Save: $151.97 (30%)Ships in 1-3 Business DaysHyundai Santa Fe Knuckle-Front Axle,LH
Part Number: 51710-S1AA0$679.19 MSRP: $962.63You Save: $283.44 (30%)Ships in 1-3 Business DaysHyundai Santa Fe Knuckle-Front Axle,RH
Part Number: 51711-S1AA0$679.19 MSRP: $962.63You Save: $283.44 (30%)Ships in 1-3 Business DaysHyundai Santa Fe Knuckle-Front Axle,RH
Part Number: 51711-S2EA0$700.84 MSRP: $1002.11You Save: $301.27 (31%)Ships in 1-3 Business DaysHyundai Santa Fe Knuckle-Front Axle,RH
Part Number: 51711-S1000$706.85 MSRP: $1010.71You Save: $303.86 (31%)Ships in 1-3 Business DaysHyundai Santa Fe Knuckle-Front Axle,RH
Part Number: 51716-26100$391.21 MSRP: $554.47You Save: $163.26 (30%)Ships in 1-3 Business DaysHyundai Santa Fe Knuckle-Front Axle,LH
Part Number: 51715-26010$353.55 MSRP: $501.10You Save: $147.55 (30%)Ships in 1-3 Business DaysHyundai Santa Fe Knuckle-Front Axle,LH
Part Number: 51715-26020$353.55 MSRP: $501.10You Save: $147.55 (30%)Ships in 1-3 Business DaysHyundai Santa Fe Knuckle-Front Axle,LH
Part Number: 51715-26100$353.55 MSRP: $501.10You Save: $147.55 (30%)Ships in 1-3 Business Days
| Page 1 of 2 |Next >
1-20 of 25 Results
Hyundai Santa Fe Steering Knuckle
The Hyundai Santa Fe Steering Knuckle is one of the most important parts guaranteed as the brand of car that can be depended on. Being a point of connection of suspension and steering systems and front wheels, the Steering Knuckle makes certain that the wheels are able enough to respond to both the surface it is on, and to the driver's commands. This vital part suits different Hyundai Santa Fe models with front-wheel drive, all-wheel, four-wheel drive, which contributes to the vehicle's effectiveness and security. Hyundai's Steering Knuckle of the Santa Fe design addresses the wheel stability so that it may rotate and be controlled uniformly, a factor that makes driving convenient. Interestingly, the Hyundai Santa Fe more so is valued for the standard features that come with it and strong warranty offers making it familiar in the markets. The Steering Knuckle's sturdiness is combined with the feature of the Santa Fe which includes lane-keeping assistance, and forward collision avoidance, which is a safety feature that is provided. Further, distinguishing feature of the presented part is its interaction with the given model's complicated suspension that improves the parameters of acceleration and fuel consumption of Hyundai Santa Fe Steering Knuckle. As a result of this, the Hyundai Santa Fe Steering Knuckle is evidence of the brand's prowess in engineering, and as expected, any driver is going to be privy to a serene ride, courtesy of the facility's efficiency when driving under several conditions.
If you are looking for affordable high-quality OEM Hyundai Santa Fe Steering Knuckle, then you have come to the prime place. Our website provides a large amount of genuine Hyundai Santa Fe Steering Knuckle at unbeatable prices. All our parts come backed with the manufacturer's warranty.
Hyundai Santa Fe Steering Knuckle Parts Questions & Experts Answers
- Q: How to remove and insatall Steering Knuckle on Hyundai Santa Fe?A:Before you can remove the drive axle, you will need to loosen the drive axle hub nut and the wheel lug nuts; put the car on jack and support with the jack stands before you take off the wheel. Subsequently, one needs to disconnect the wheel speed sensor with the knuckle, and remove the brake disc fitted on the hub. Regards only the strut to steering knuckle bolts and unscrew without completely disconnecting the tie-rod seperating the end from the steering knuckle arm. Next remove the Ball Joint to the steering knuckle with the other one and lowering the Control Arm to take out the strut to knuckle bolts. Place your fingers between the hub and the knuckle and push the drive axle out of it while holding its end with a piece of thin wire; your other hand should pull the steering knuckle up and away from the strut. For installation, align the knuckle and hub assembly while putting the drive axle into the hub. Thrust the knuckle into the strut flange and pass the bolts and nuts through the holes but do not lock them. Place the ball joint to the control arm or subframe and tightened the pinch bolt but leave the nut slightly loose. Secure the tie rod to the steering knuckle arm and tighten the respective strut bolt nuts as well as the tie rod nut as requested into desired torque; replace all worn cotter pins with new ones. Mount the brake disc to the hub and assemble the caliper, and the wheel speed sensor. Last, before raising the vehicle, allow the technician to fit the drive axle/hub nut and Toyota tightens it partially, with the final torque to be applied when the vehicle is on the ground. Mount the wheel and the lug nuts and lower the car before pulling the lug nuts as tight as the recommended torque and finally, rotate the drive axle/hub nut before pulling tight to the recommended torque.
Related Hyundai Santa Fe Parts
Browse by Year
2023 Steering Knuckle 2022 Steering Knuckle 2021 Steering Knuckle 2020 Steering Knuckle 2019 Steering Knuckle 2018 Steering Knuckle 2017 Steering Knuckle 2016 Steering Knuckle 2015 Steering Knuckle 2014 Steering Knuckle 2013 Steering Knuckle 2012 Steering Knuckle 2011 Steering Knuckle 2010 Steering Knuckle 2009 Steering Knuckle 2008 Steering Knuckle 2007 Steering Knuckle 2006 Steering Knuckle 2005 Steering Knuckle 2004 Steering Knuckle 2003 Steering Knuckle 2002 Steering Knuckle 2001 Steering Knuckle 2000 Steering Knuckle
