×
- Hello
- Login or Register
- Quick Links
- Live Chat
- Track Order
- Parts Availability
- RMA
- Help Center
- Contact Us
- Shop for
- Hyundai Parts
- Hyundai Accessories


My Garage
My Account
Cart
Genuine Hyundai Sonata Coil Springs
Strut Spring- Select Vehicle by Model
- Select Vehicle by VIN
Select Vehicle by Model
orMake
Model
Year
Select Vehicle by VIN
For the most accurate results, select vehicle by your VIN (Vehicle Identification Number).
96 Coil Springs found

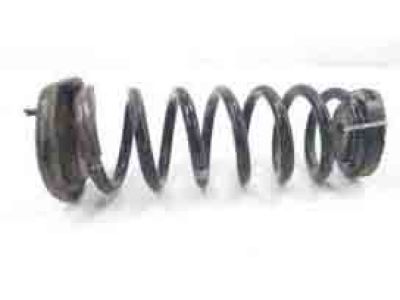
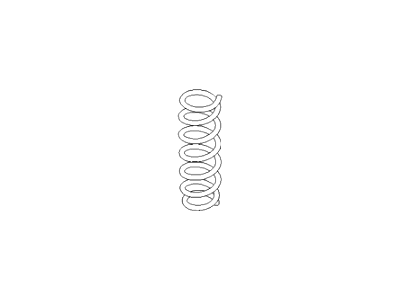
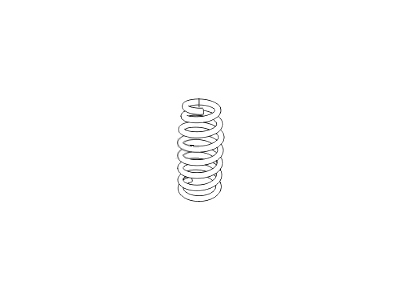
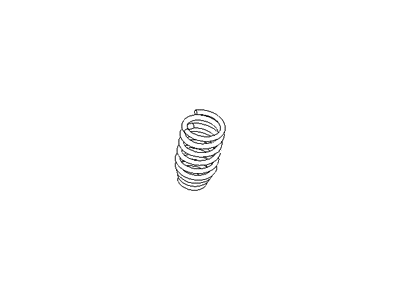
Hyundai Sonata Spring-Rear
Part Number: 55350-3Q010$151.02 MSRP: $212.18You Save: $61.16 (29%)Ships in 1-3 Business Days
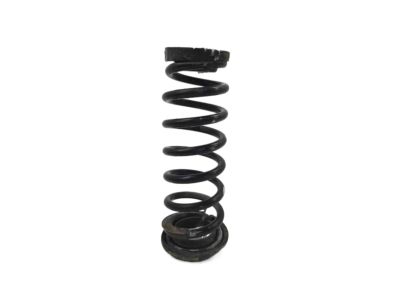
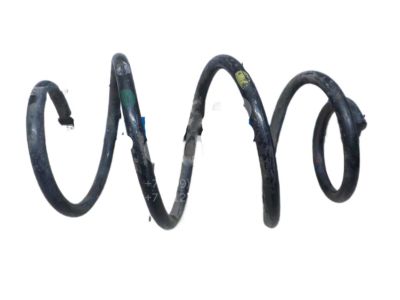
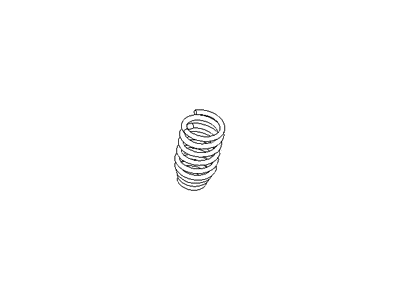
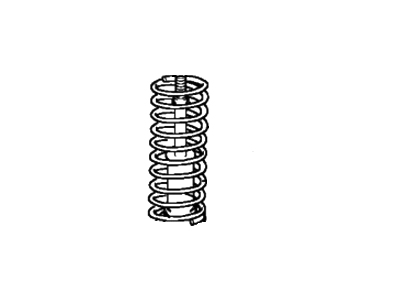
Hyundai Sonata Spring-Front
Part Number: 54630-3Q010$119.40 MSRP: $167.76You Save: $48.36 (29%)Ships in 1-3 Business Days
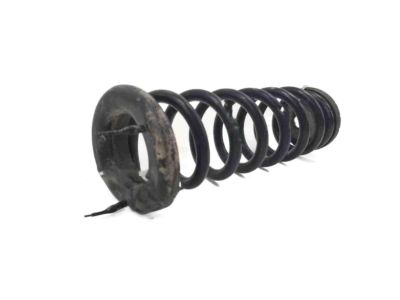
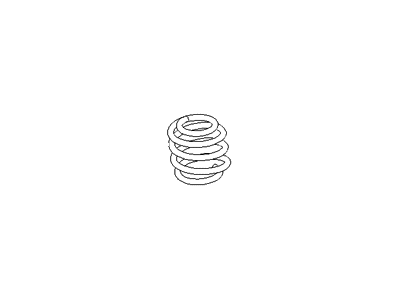
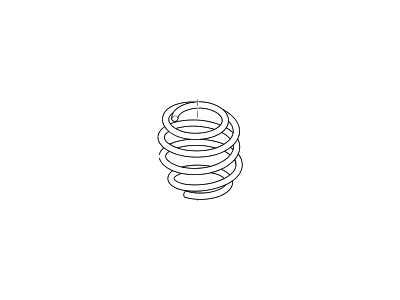
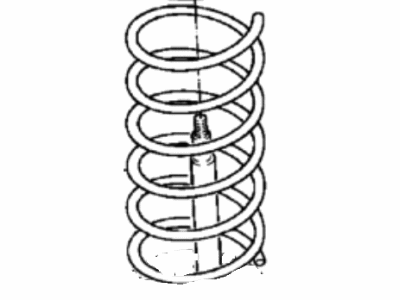
Hyundai Sonata Spring-Front
Part Number: 54630-3Q014$172.07 MSRP: $241.76You Save: $69.69 (29%)Ships in 1-2 Business Days
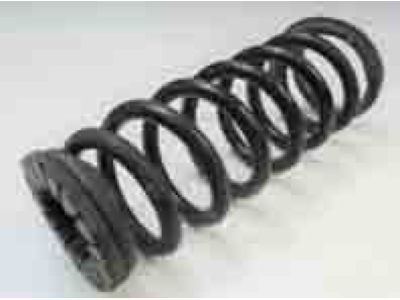
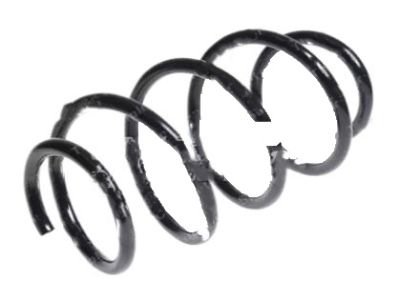
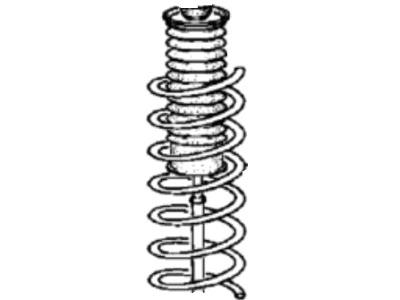
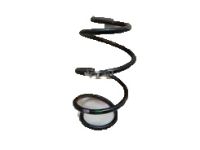
Hyundai Sonata Spring-Rear
Part Number: 55350-34050$68.83 MSRP: $96.71You Save: $27.88 (29%)Ships in 1-3 Business DaysHyundai Sonata Spring-Front
Part Number: 54630-34151$132.94 MSRP: $186.77You Save: $53.83 (29%)Ships in 1-3 Business DaysHyundai Sonata Spring-Rear
Part Number: 55350-0A100$71.34 MSRP: $100.23You Save: $28.89 (29%)Ships in 1-3 Business DaysHyundai Sonata Spring-Rear
Part Number: 55350-C2104$149.22 MSRP: $209.65You Save: $60.43 (29%)Ships in 1-3 Business DaysHyundai Sonata Spring-Front
Part Number: 54630-34251$132.94 MSRP: $186.77You Save: $53.83 (29%)Ships in 1-3 Business DaysHyundai Sonata Spring-Front
Part Number: 54650-3K030$148.80 MSRP: $209.06You Save: $60.26 (29%)Ships in 1-3 Business DaysHyundai Sonata Spring-Front
Part Number: 54630-C2150$183.28 MSRP: $257.50You Save: $74.22 (29%)Ships in 1-3 Business DaysHyundai Sonata Spring-Rear
Part Number: 55350-34510$68.83 MSRP: $96.71You Save: $27.88 (29%)Ships in 1-3 Business DaysHyundai Sonata Spring-Rear(Pink 2)
Part Number: 55350-33400$77.59 MSRP: $109.02You Save: $31.43 (29%)Ships in 1-3 Business DaysHyundai Sonata Spring-Rear
Part Number: 55350-0A001$92.21 MSRP: $129.55You Save: $37.34 (29%)Ships in 1-3 Business DaysHyundai Sonata Spring-Front
Part Number: 54650-3K750$89.43 MSRP: $125.65You Save: $36.22 (29%)Ships in 1-3 Business DaysHyundai Sonata Spring-Rear
Part Number: 55350-33300$113.39 MSRP: $159.31You Save: $45.92 (29%)Ships in 1-3 Business DaysHyundai Sonata Spring-Rear
Part Number: 55350-34300$113.39 MSRP: $159.31You Save: $45.92 (29%)Ships in 1-3 Business DaysHyundai Sonata Spring-Rear
Part Number: 55350-38000$113.39 MSRP: $159.31You Save: $45.92 (29%)Ships in 1-3 Business DaysHyundai Sonata Spring-Front
Part Number: 54630-33500$108.21 MSRP: $152.03You Save: $43.82 (29%)Ships in 1-3 Business DaysHyundai Sonata Spring-Front
Part Number: 54630-33600$108.21 MSRP: $152.03You Save: $43.82 (29%)Ships in 1-3 Business Days
| Page 1 of 5 |Next >
1-20 of 96 Results
Hyundai Sonata Coil Springs
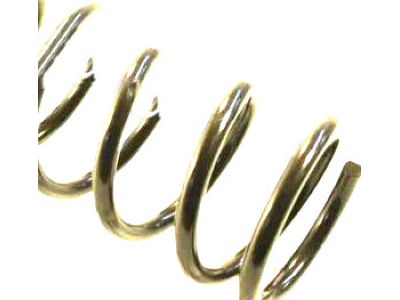
The Hyundai Sonata Coil Springs are undercarriage parts of the car which constitutes a crucial part of the suspension system of the car and they are famous for their endurance and efficiency in the various models of the Sonata sedans. Intended for bearing the vehicle's load weight and providing the ride height and wheel alignment that reduces the effect of irregularities on the roads, these Coil Springs are vital for improving fuel consumption and safety, respectively. Coil Springs tested on the Hyundai Sonata comprise of OEM ones for late model and accurate copies as well that fit NHTSA's authentic generations of Hyundai Sonata. For instance, the Coil Springs can be linear rate, progressive, and dual rate depending on desirable handling and ride features. The progressive Coil Springs, for instance, has a variable rate that provides for comfort while at the same time not bottoming out during sharp turns among other performances. Also, height adjustable Coil Springs can allow the adjustment of the car's height unlike any typical complete lowering kit in today's market. Hyundai sonota has a long history since its inception in 1985 and is now considered a midsize sedan; the car's Coil Springs reflect Hyundai's devotion to its high-quality products and innovation. In summary, the Hyundai Sonata Coil Springs performs a central role to improve the standard, comfort and safety of the vehicles while on the road and underlines the Hyundai's position in the automotive market.
If you are looking for affordable high-quality OEM Hyundai Sonata Coil Springs, then you have come to the prime place. Our website provides a large amount of genuine Hyundai Sonata Coil Springs at unbeatable prices. All our parts come backed with the manufacturer's warranty.
Hyundai Sonata Coil Springs Parts Questions & Experts Answers
- Q: How to remove and install the rear coil springs on Hyundai Sonata?A:To work on models which were produced between 1999 and 2005, start by pulling out the Shock Absorber/coil spring assembly of the car in question, which must be fixed in a wood-lined vise or rags to avoid damaging the part. To ensure that all force has been removed from the upper spring seat, the use of a spring compressor can be done or the spring can be shaken to check that batter is loose. Loosen and take out the damper shaft nut while applying the locking pliers at the end of the shaft, after which, the mounting bracket, the dust cover, and the spring seat should be removed all, and kept systematically. Remove the compressed spring from the assembly carefully and put it aside along with the rubber bumper if any and inspect the lower insulator for the signs of wear or damage. To install, position the coil spring above the lower insulator, followed by fitting the upper insulator, spring seat, caring about their axiom, tighten the damper nut before withdrawing the spring compressor tool and finally replace the shock absorber/spring. Beginning with the models manufactured after the year 2006, begin by providing adequate audience to the rear wheel lug nuts, lifting the vehicle on sure shot jackstands and finally removing the said wheel. Supporting of lower Control Arm with the help of floor jack to avoid any movement then disconnected the lower end of the shock absorber from the hub carrier and disconnected the outer part of the lower control arm. Slowly lower the jack until the spring can be unplugged from its seats and then pull the spring away. The removal process is done in the reverse order of installation, and in addition, the analyst ensures that the outer end of the lower control arm of the car is raised with the help of the floor jack in order to set or restore the normal ride height of the car before tightening the nut of the lower control arm-to-hub carrier bolt.
Related Hyundai Sonata Parts
Browse by Year
2023 Coil Springs 2022 Coil Springs 2021 Coil Springs 2020 Coil Springs 2019 Coil Springs 2018 Coil Springs 2017 Coil Springs 2016 Coil Springs 2015 Coil Springs 2014 Coil Springs 2013 Coil Springs 2012 Coil Springs 2011 Coil Springs 2010 Coil Springs 2009 Coil Springs 2008 Coil Springs 2007 Coil Springs 2006 Coil Springs 2005 Coil Springs 2004 Coil Springs 2003 Coil Springs 2002 Coil Springs 2001 Coil Springs 2000 Coil Springs 1999 Coil Springs 1998 Coil Springs 1997 Coil Springs 1996 Coil Springs 1995 Coil Springs 1994 Coil Springs 1993 Coil Springs 1992 Coil Springs 1991 Coil Springs 1990 Coil Springs 1989 Coil Springs 1988 Coil Springs
