×
- Hello
- Login or Register
- Quick Links
- Live Chat
- Track Order
- Parts Availability
- RMA
- Help Center
- Contact Us
- Shop for
- Hyundai Parts
- Hyundai Accessories


My Garage
My Account
Cart
Genuine Hyundai Accent Ignition Coil
Ignition Coil Resistor- Select Vehicle by Model
- Select Vehicle by VIN
Select Vehicle by Model
orMake
Model
Year
Select Vehicle by VIN
For the most accurate results, select vehicle by your VIN (Vehicle Identification Number).
12 Ignition Coils found

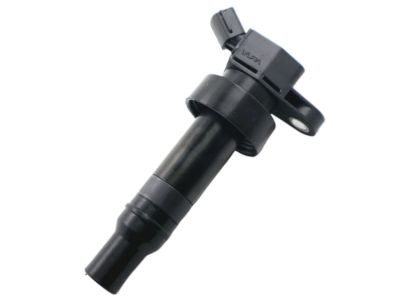
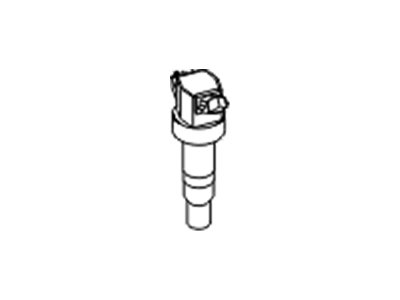
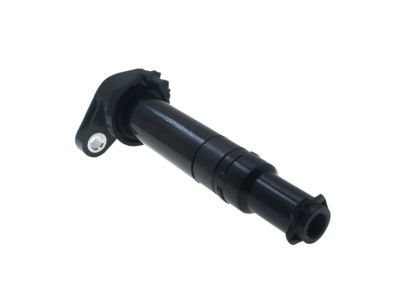
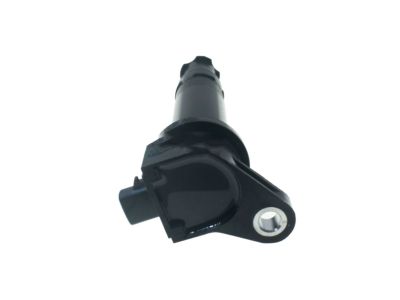
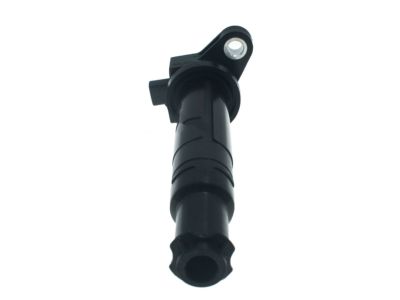
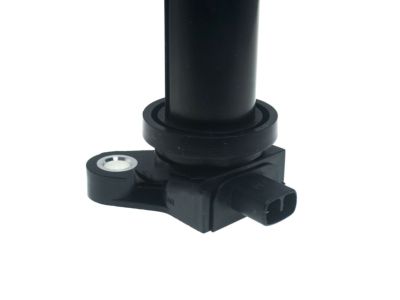
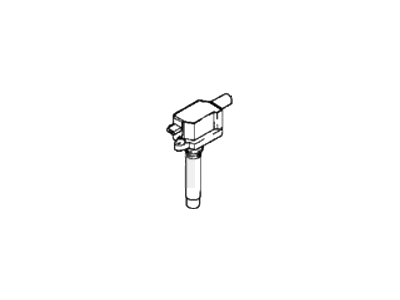
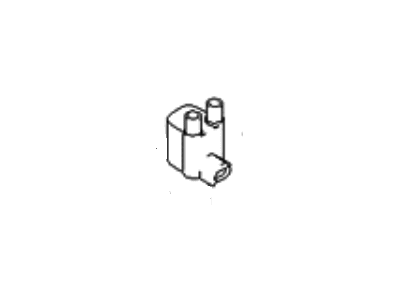
Hyundai Accent Coil Assembly-Ignition
Part Number: 27301-2B100$155.55 MSRP: $218.55You Save: $63.00 (29%)Ships in 1-3 Business Days
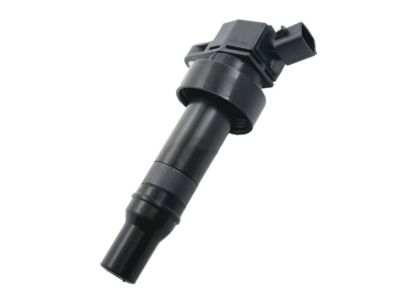
Hyundai Accent Coil Assembly-Ignition
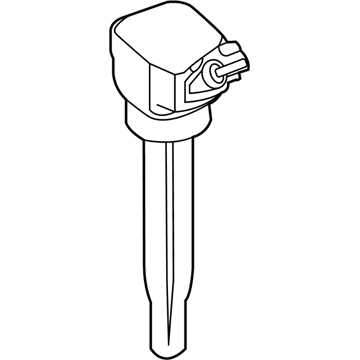
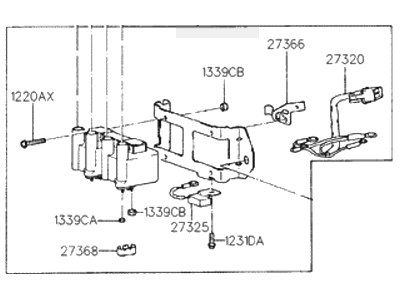
Part Number: 27301-26640$155.55 MSRP: $218.55You Save: $63.00 (29%)Ships in 1-3 Business DaysHyundai Accent Coil Assembly-Ignition
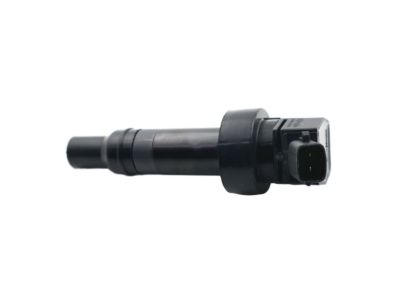
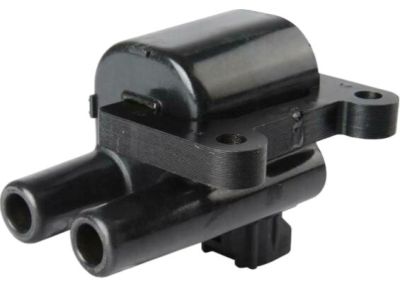
Part Number: 27301-2M360$124.18 MSRP: $174.47You Save: $50.29 (29%)Ships in 1-3 Business DaysHyundai Accent Coil Assembly-Ignition
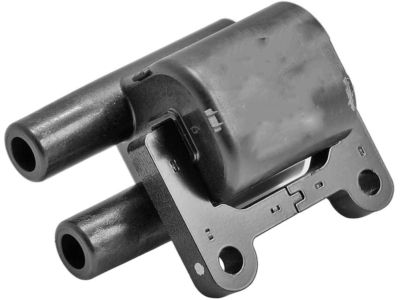
Part Number: 27301-22600$209.28 MSRP: $294.03You Save: $84.75 (29%)Ships in 1-3 Business DaysHyundai Accent Coil Assembly-Ignition
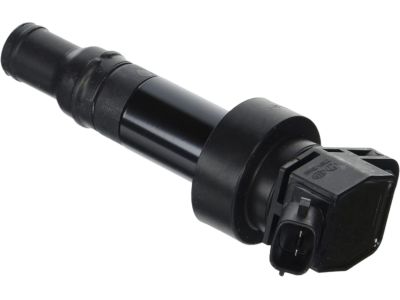
Part Number: 27301-26600$209.28 MSRP: $294.03You Save: $84.75 (29%)Ships in 1-3 Business DaysHyundai Accent Coil Assembly-Ignition
Part Number: 27301-26002$108.75 MSRP: $152.79You Save: $44.04 (29%)Ships in 1-3 Business DaysHyundai Accent Coil Assembly-Ignition
Part Number: 27301-26080$181.54 MSRP: $255.06You Save: $73.52 (29%)Ships in 1-3 Business DaysHyundai Accent Coil-Ignition
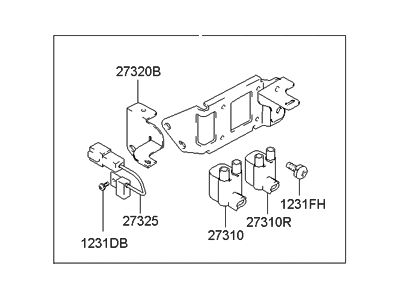
Part Number: 27310-26600$172.14 MSRP: $241.85You Save: $69.71 (29%)Ships in 1-3 Business DaysHyundai Accent Coil Assembly-Ignition
Part Number: 27301-22040$181.54 MSRP: $255.06You Save: $73.52 (29%)Ships in 1-3 Business DaysHyundai Accent Coil Assembly-Ignition
Part Number: 27301-22050$181.54 MSRP: $255.06You Save: $73.52 (29%)Ships in 1-3 Business Days
Hyundai Accent Ignition Coil
Hyundai Accent Ignition Coil is another important car part that speaks more of the reliability and performance of Hyundai automobiles. This specific Ignition Coil is tasked with the duties of taking the 12 volts from the battery up to the 15,000 to 40,000 volts needed to ignite the air/fuel mixture in the engine cylinders. Over the generations, Hyundai Accent has applied a broad range of Ignition Coil systems such as distributor systems, DIS, COP and CNP aiming to improve the engine's performance and protect it from potential dangers. Our Hyundai Accent Ignition Coil will comfortably fit different generations of the Accent thus making the car perform to the maximum. Its heavy metal construction means it is far less prone to the usual problems of poor performance, misfiring, heat, age, and vibration. Furthermore, the technology utilised on the Hyundai Accent Ignition Coil enables it to regulate voltage to the engine cylinders, making the engine to run smoothly, and making improved fuel consumption possible. This reliability is desirable for drivers who need to drive reliable cars for their day to day activities. Hyundai Accent is a model known for its international exposure to car production and fine engineering design; therefore, any car model that boasts of such Ignition Coil performance must boast of its quality in the auto market. The Hyundai Accent Ignition Coil is an excellent example of the company's focus on quality and efficiency as well as safety and the many extra features of newer models.
If you are looking for affordable high-quality OEM Hyundai Accent Ignition Coil, then you have come to the prime place. Our website provides a large amount of genuine Hyundai Accent Ignition Coil at unbeatable prices. All our parts come backed with the manufacturer's warranty.
Hyundai Accent Ignition Coil Parts Questions & Experts Answers
- Q: How to remove and test the ignition coil and Power Transistor on Hyundai Accent?A:Disconnect negative Battery Cable for 1994 and earlier models. On carbureted models, find the ignition coil at the front left corner of the engine compartment and unplug primary and high voltage wiring. Unscrew clamping bolts to remove the coil, taking care to move ballast resistor aside in case of early versions. For fuel injected ones, detach the upper intake manifold to get at both the coil and power transistor. Disconnect high voltage lead and wiring connectors, unbolt mounting bolts, remove units from intake manifold. To test coil, measure resistance across primary and secondary windings using ohmmeter comparing readings with given values. Check for continuity between high voltage lead terminal and coil body. Use appropriate procedures for testing ballast resistor (carbureted models) and power transistor (fuel injected models). Ignition coil assembly is mounted on left side of cylinder head for 1995 through 2002 SOHC or 1995 through 2005 DOHC models Label and remove spark plug leads, disconnect wiring connector, undo mounting bolts then take out the coil. Measure resistance (ohms) between primary winding terminals compared with secondary winding terminals (0000 ohms to infinite). Replace if faulty; i.e., defect in either SOHC Coil Assembly or DOHC Individual Coil Assembly. Engines covered are four COIL-OVER-PLUG IGNITION COILS from 2006 onwards; so pull off engine cover plus as necessary motor harness cover which retains it in place. For removal: Unplug electrical connector behind coil pack; loosen mounting bolt; lift out unit(s). Installation is reverse of removal.
Related Hyundai Accent Parts
Browse by Year
2022 Ignition Coil 2021 Ignition Coil 2020 Ignition Coil 2019 Ignition Coil 2018 Ignition Coil 2017 Ignition Coil 2016 Ignition Coil 2015 Ignition Coil 2014 Ignition Coil 2013 Ignition Coil 2012 Ignition Coil 2011 Ignition Coil 2010 Ignition Coil 2009 Ignition Coil 2008 Ignition Coil 2007 Ignition Coil 2006 Ignition Coil 2005 Ignition Coil 2004 Ignition Coil 2003 Ignition Coil 2002 Ignition Coil 2001 Ignition Coil 2000 Ignition Coil 1999 Ignition Coil 1998 Ignition Coil 1997 Ignition Coil 1996 Ignition Coil 1995 Ignition Coil 1994 Ignition Coil
