×
- Hello
- Login or Register
- Quick Links
- Live Chat
- Track Order
- Parts Availability
- RMA
- Help Center
- Contact Us
- Shop for
- Hyundai Parts
- Hyundai Accessories


My Garage
My Account
Cart
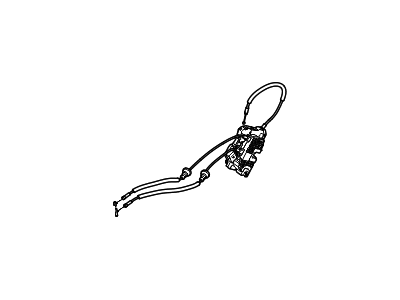
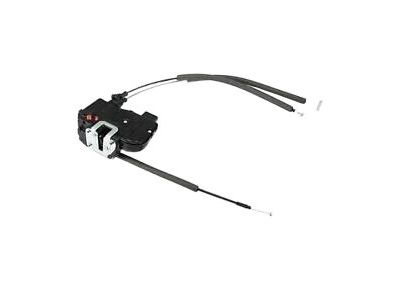
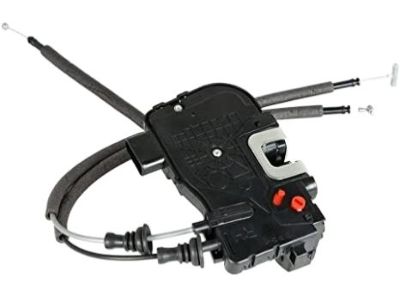
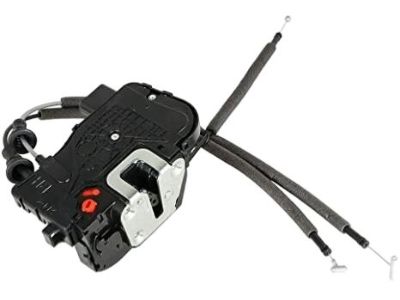
Genuine Hyundai Sonata Door Latch Assembly
Door Latch- Select Vehicle by Model
- Select Vehicle by VIN
Select Vehicle by Model
orMake
Model
Year
Select Vehicle by VIN
For the most accurate results, select vehicle by your VIN (Vehicle Identification Number).
54 Door Latch Assemblys found

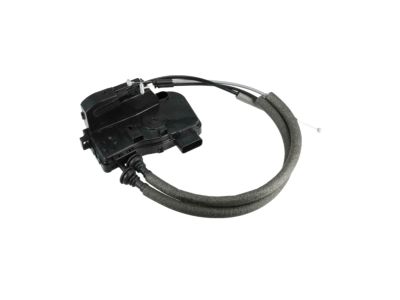
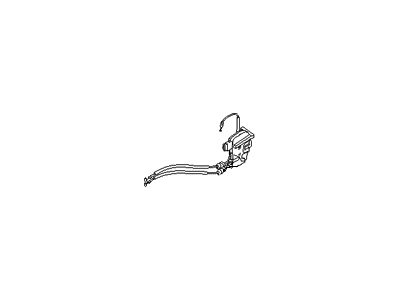
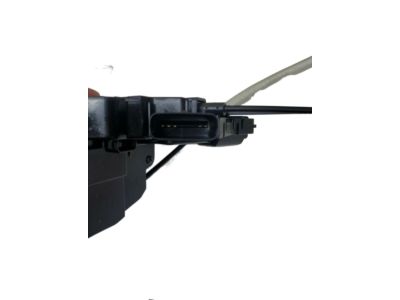
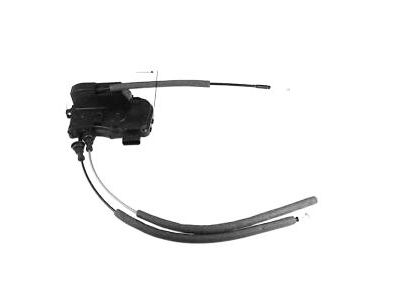
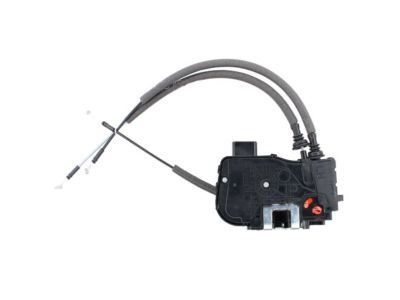
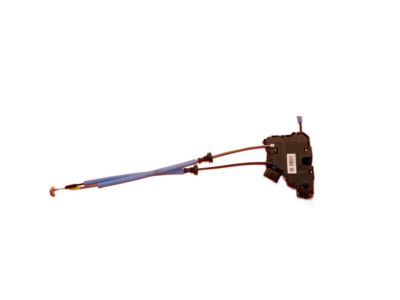
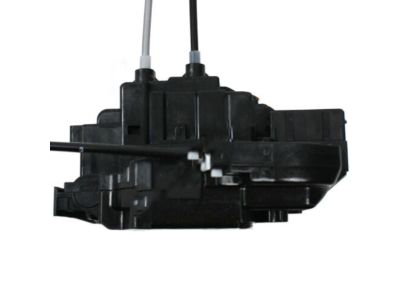
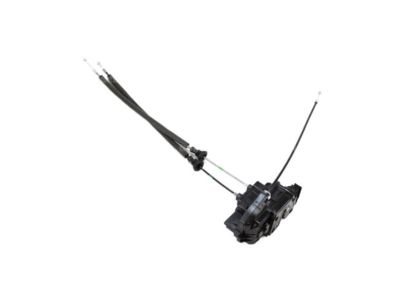
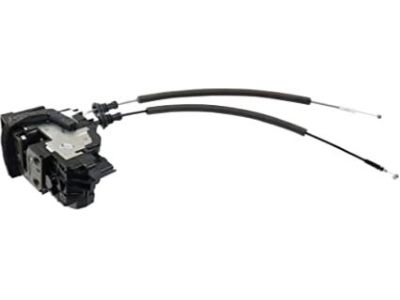
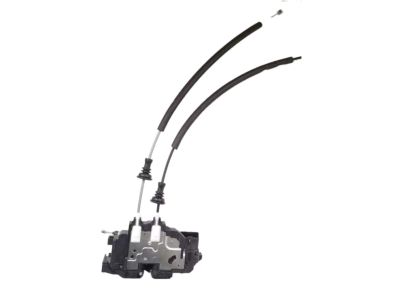
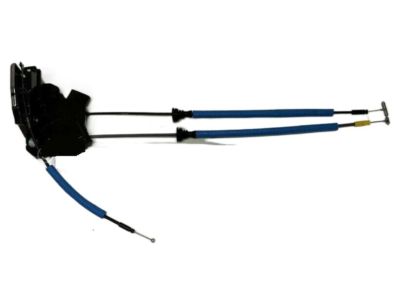
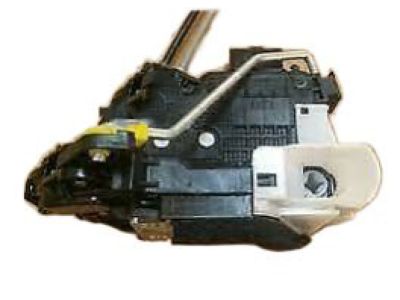
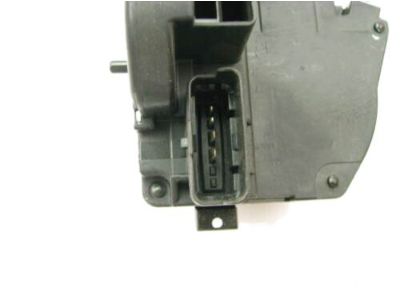
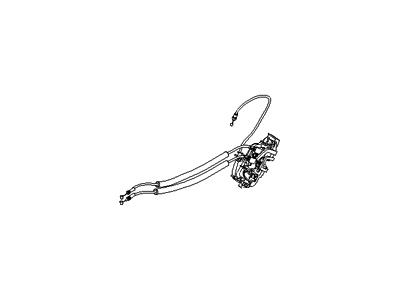
Hyundai Sonata Latch Assembly-Front Door,RH
Part Number: 81320-3S020$152.74 MSRP: $214.60You Save: $61.86 (29%)Ships in 1-2 Business Days
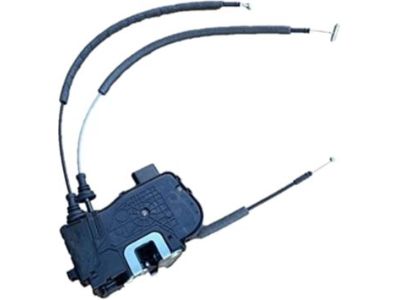
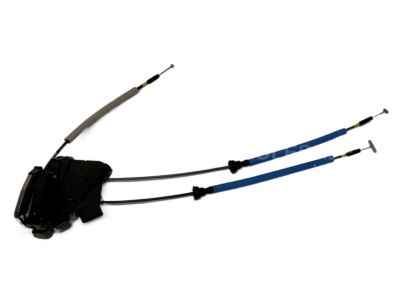
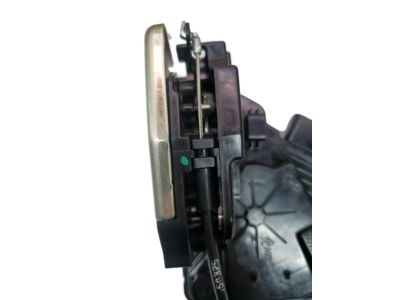
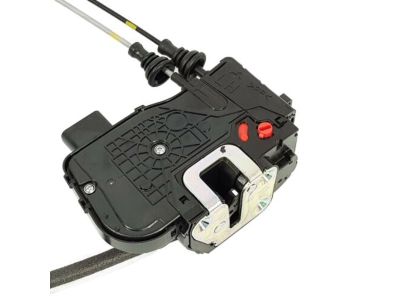
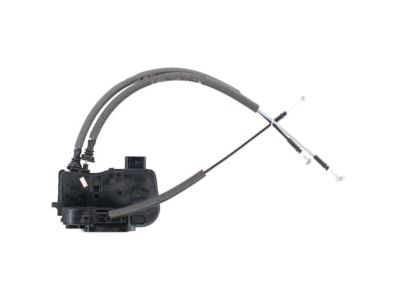
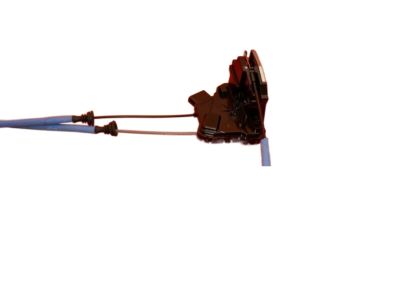
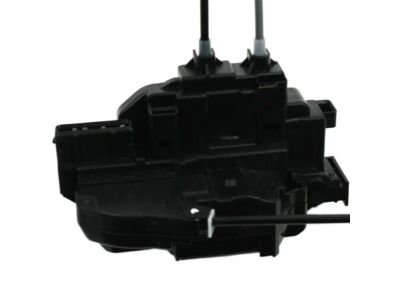
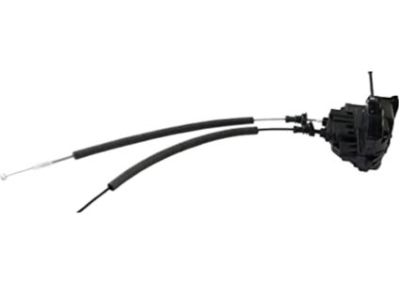
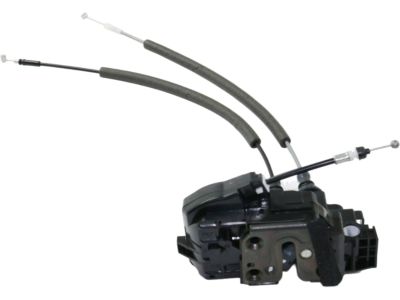
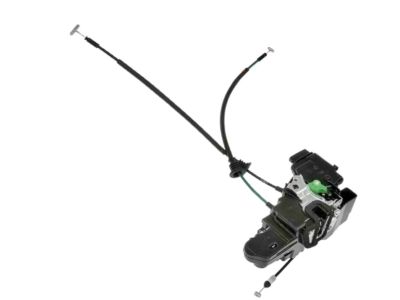
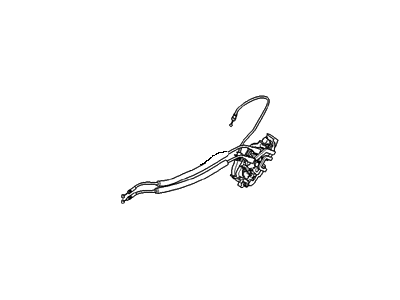
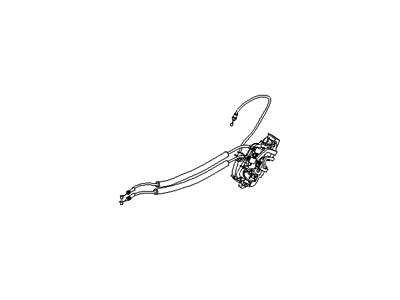
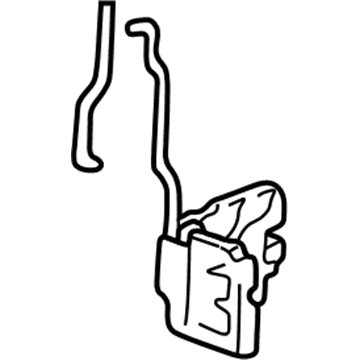
Hyundai Sonata Latch Assembly-Front Door,LH
Part Number: 81310-3S010$181.87 MSRP: $255.52You Save: $73.65 (29%)Ships in 1-3 Business Days
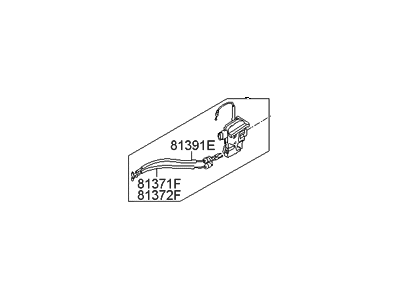
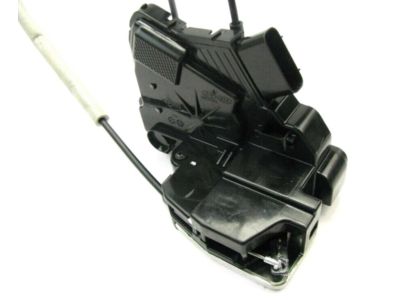
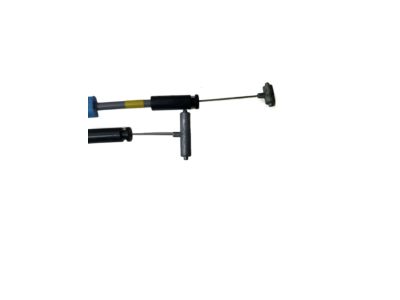
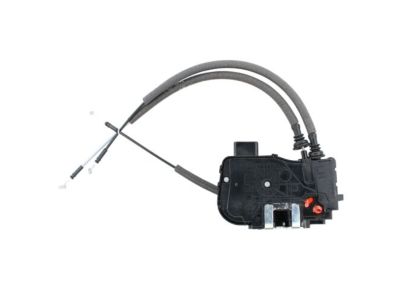
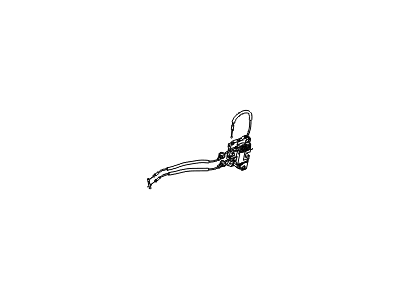
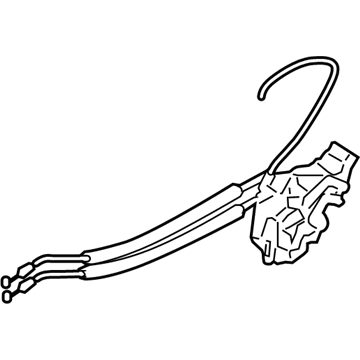
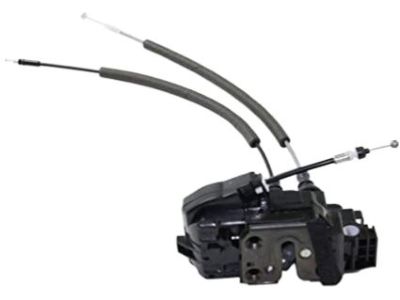
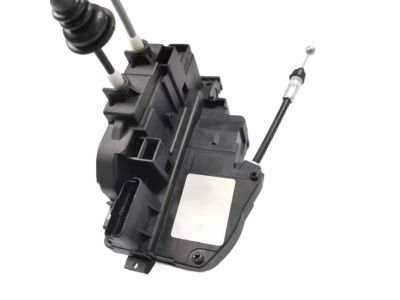
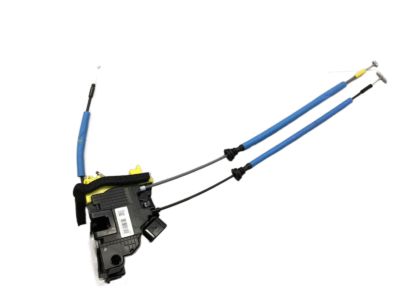
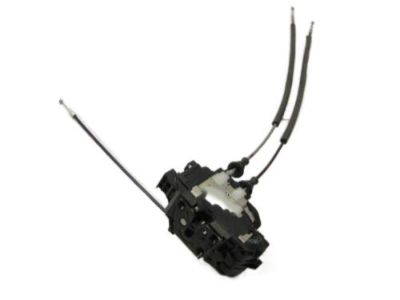
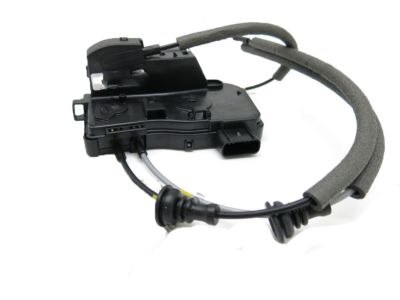
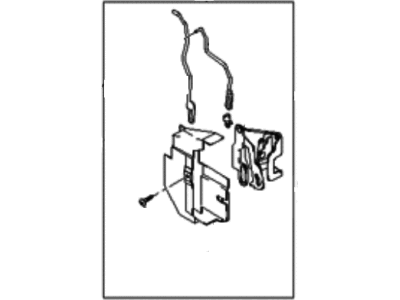
Hyundai Sonata Latch Assembly-Rear Door,RH
Part Number: 81420-C1000$98.65 MSRP: $138.60You Save: $39.95 (29%)Ships in 1-3 Business Days
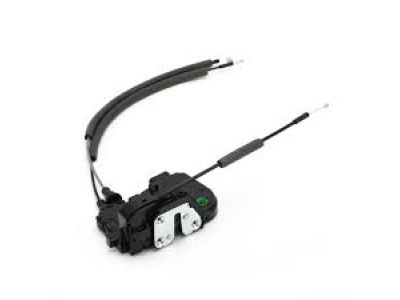
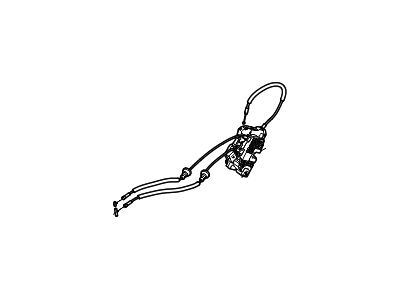
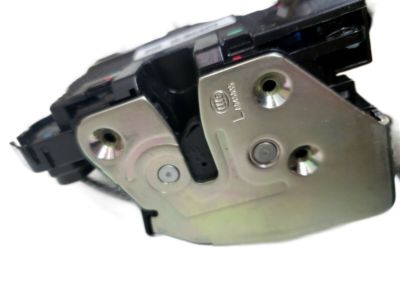
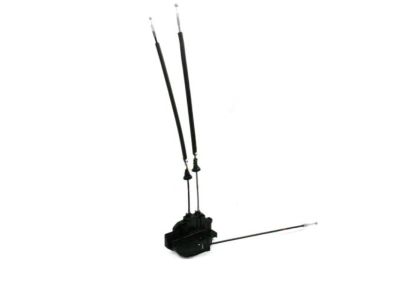
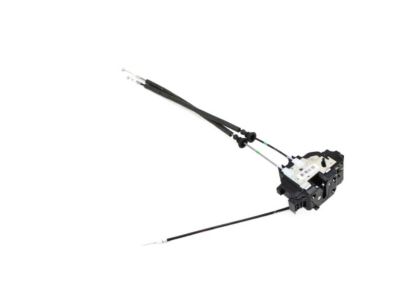
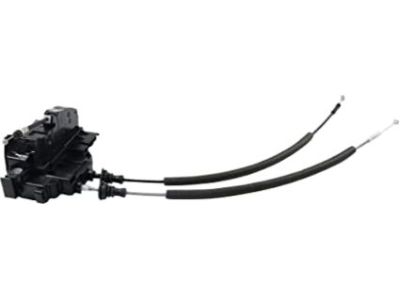
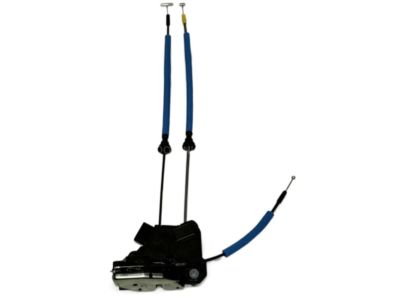
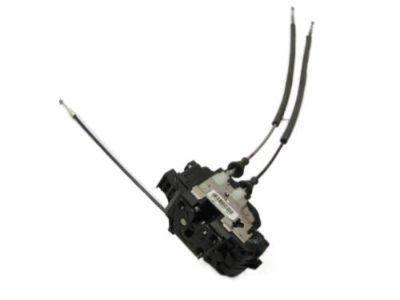
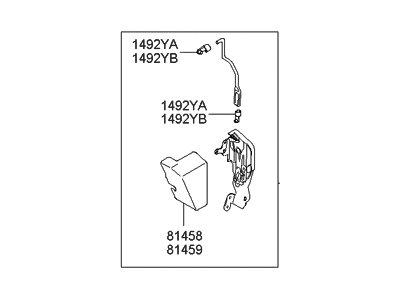
Hyundai Sonata Latch Assembly-Rear Door,LH
Part Number: 81410-C1000$88.48 MSRP: $124.31You Save: $35.83 (29%)Ships in 1-3 Business Days
Hyundai Sonata Latch Assembly-Rear Door,RH
Part Number: 81420-3S000$312.20 MSRP: $438.63You Save: $126.43 (29%)Ships in 1-3 Business Days
Hyundai Sonata Latch Assembly-Rear Door,LH
Part Number: 81410-3S000$312.20 MSRP: $438.63You Save: $126.43 (29%)Ships in 1-2 Business Days
Hyundai Sonata Latch Assembly-Front Door,RH
Part Number: 81320-C1010$190.37 MSRP: $267.47You Save: $77.10 (29%)Ships in 1-3 Business Days
Hyundai Sonata Latch & Actuator Assembly-Rear Door,LH
Part Number: 81410-3K000$270.09 MSRP: $379.47You Save: $109.38 (29%)Ships in 1-3 Business Days
Hyundai Sonata Latch Assembly-Rear Door,LH
Part Number: 81410-3K500$270.09 MSRP: $379.47You Save: $109.38 (29%)Ships in 1-3 Business Days
Hyundai Sonata Latch Assembly-Front Door,RH
Part Number: 81320-3K530$250.94 MSRP: $352.56You Save: $101.62 (29%)Ships in 1-3 Business Days
Hyundai Sonata Latch Assembly-Front Door,LH
Part Number: 81310-3K520$250.94 MSRP: $352.56You Save: $101.62 (29%)Ships in 1-3 Business Days
Hyundai Sonata Latch Assembly-Front Door,LH
Part Number: 81310-C1000$241.45 MSRP: $339.23You Save: $97.78 (29%)Ships in 1-2 Business Days
Hyundai Sonata Latch Assembly-Rear Door,RH
Part Number: 81420-3K500$270.09 MSRP: $379.47You Save: $109.38 (29%)Ships in 1-3 Business Days
Hyundai Sonata Latch & Actuator Assembly-Rear Door,LH
Part Number: 81410-3K001$270.09 MSRP: $379.47You Save: $109.38 (29%)Ships in 1-3 Business Days
Hyundai Sonata Latch Assembly-Rear Door,RH
Part Number: 81420-38000$205.74 MSRP: $289.06You Save: $83.32 (29%)Ships in 1-3 Business DaysHyundai Sonata Latch & Actuator Assembly-Rear Door,RH
Part Number: 81420-3K000$270.09 MSRP: $379.47You Save: $109.38 (29%)Ships in 1-3 Business DaysHyundai Sonata Latch & Actuator Assembly-Rear Door,RH
Part Number: 81420-3K001$270.09 MSRP: $379.47You Save: $109.38 (29%)Ships in 1-3 Business DaysHyundai Sonata Latch Assembly-Front Door,LH
Part Number: 81310-38000$244.34 MSRP: $343.29You Save: $98.95 (29%)Ships in 1-3 Business DaysHyundai Sonata Latch Assembly-Front Door,LH
Part Number: 81310-38001$244.34 MSRP: $343.29You Save: $98.95 (29%)Ships in 1-3 Business DaysHyundai Sonata Latch Assembly-Front Door,LH
Part Number: 81310-38011$244.34 MSRP: $343.29You Save: $98.95 (29%)Ships in 1-3 Business Days
| Page 1 of 3 |Next >
1-20 of 54 Results
Hyundai Sonata Door Latch Assembly
If you are looking for affordable high-quality OEM Hyundai Sonata Door Latch Assembly, then you have come to the prime place. Our website provides a large amount of genuine Hyundai Sonata Door Latch Assembly at unbeatable prices. All our parts come backed with the manufacturer's warranty.
Hyundai Sonata Door Latch Assembly Parts Questions & Experts Answers
- Q: How to remove and install the Door Handle, Door Latch Assembly, and Door Lock Cylinder on Hyundai Sonata?A:Wear gloves when working inside the door openings to protect against cuts from sharp metal edges. For 2005 and earlier models, begin by removing the door trim panel and water shield. Through the large access hole, disengage the rods from the handle and lock cylinder, which are attached by plastic clips that can be unsnapped and pulled out. Disconnect the electrical connectors at the latch and disengage the handle-to-latch cables. Remove the screws securing the latch to the door and take out the latch assembly. Installation follows the reverse order. For 2006 and later models, first remove the window glass, then disconnect the door wiring harness at the door hinge jamb and pull it into the door. Remove the fasteners securing the inner panel, lifting it out while threading the door latch cables through. Disconnect the wiring harness and speaker connection, then remove the door operator module, outside handle, and its pad. Take out the outside handle base from inside the door, remove the latch bolts, and lift out the latch. Installation is the reverse of removal. When dealing with the outside handle and door lock cylinder/door operator module, take care not to scratch the paint on the outside of the door; applying wide masking tape around the handle opening can help. For 2005 and earlier models, disengage the plastic clips securing the outside door lock-to-latch rod and the outside door handle-to-latch rod through the access hole. Remove the handle and lock cylinder retaining screws from inside the door, then take out the handle and lock cylinder. Installation is the reverse of removal. For 2006 and later models, remove the window glass and the inner panel. Through the access hole, remove the fastener at the rear of the handle and take out the handle. The door operator module can then be removed, with installation following the reverse order.
Related Hyundai Sonata Parts
Browse by Year
2023 Door Latch Assembly 2022 Door Latch Assembly 2021 Door Latch Assembly 2020 Door Latch Assembly 2019 Door Latch Assembly 2018 Door Latch Assembly 2017 Door Latch Assembly 2016 Door Latch Assembly 2015 Door Latch Assembly 2014 Door Latch Assembly 2013 Door Latch Assembly 2012 Door Latch Assembly 2011 Door Latch Assembly 2010 Door Latch Assembly 2009 Door Latch Assembly 2008 Door Latch Assembly 2007 Door Latch Assembly 2006 Door Latch Assembly 2005 Door Latch Assembly 2004 Door Latch Assembly 2003 Door Latch Assembly 2002 Door Latch Assembly 2001 Door Latch Assembly 2000 Door Latch Assembly 1999 Door Latch Assembly 1998 Door Latch Assembly 1997 Door Latch Assembly 1996 Door Latch Assembly 1995 Door Latch Assembly 1994 Door Latch Assembly 1993 Door Latch Assembly 1992 Door Latch Assembly 1991 Door Latch Assembly 1990 Door Latch Assembly 1989 Door Latch Assembly 1988 Door Latch Assembly
