×
- Hello
- Login or Register
- Quick Links
- Live Chat
- Track Order
- Parts Availability
- RMA
- Help Center
- Contact Us
- Shop for
- Hyundai Parts
- Hyundai Accessories


My Garage
My Account
Cart
Genuine Hyundai Santa Fe Rack And Pinion
Steering Rack And Pinion- Select Vehicle by Model
- Select Vehicle by VIN
Select Vehicle by Model
orMake
Model
Year
Select Vehicle by VIN
For the most accurate results, select vehicle by your VIN (Vehicle Identification Number).
23 Rack And Pinions found

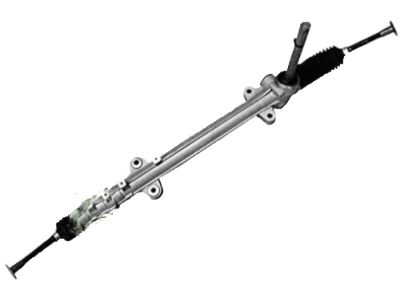
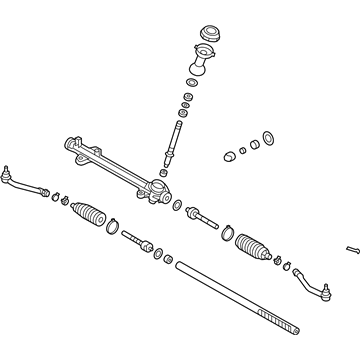
Hyundai Santa Fe Gear Assembly-Steering
Part Number: 56500-2W100$1042.89 MSRP: $1491.21You Save: $448.32 (31%)Ships in 1-3 Business DaysHyundai Santa Fe Gear Assembly-Steering
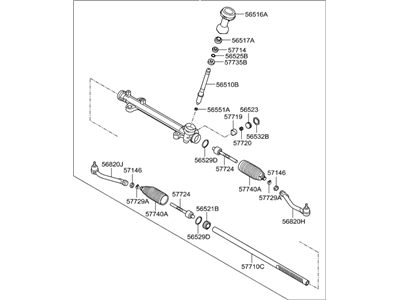
Part Number: 56500-2W300$1116.67 MSRP: $1596.71You Save: $480.04 (31%)Ships in 1-3 Business DaysHyundai Santa Fe Gear Assembly-Steering
Part Number: 56500-2W150$1092.75 MSRP: $1562.50You Save: $469.75 (31%)Ships in 1-3 Business DaysHyundai Santa Fe Gear & Linkage Assembly-Power Steering
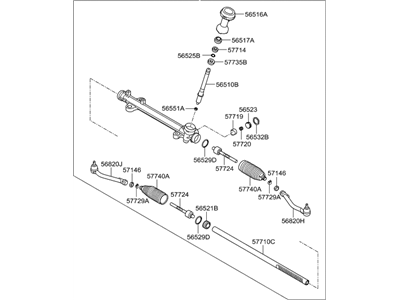
Part Number: 57700-0W100$1112.15 MSRP: $1590.24You Save: $478.09 (31%)Ships in 1-3 Business DaysHyundai Santa Fe Gear Assembly-Steering
Part Number: 56500-S2500$1063.77 MSRP: $1521.06You Save: $457.29 (31%)Ships in 1-3 Business DaysHyundai Santa Fe Gear Assembly-Steering
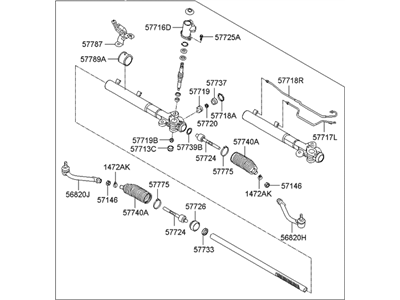
Part Number: 56500-S2000$1063.77 MSRP: $1521.06You Save: $457.29 (31%)Ships in 1-3 Business DaysHyundai Santa Fe Gear & Linkage Assembly-Power Steering
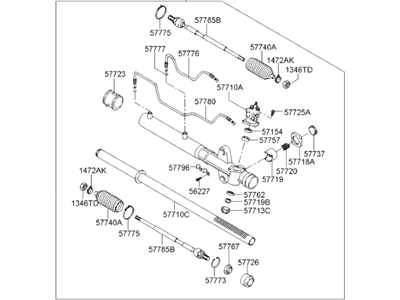
Part Number: 57710-26200$1708.11 MSRP: $2442.39You Save: $734.28 (31%)Ships in 1-3 Business DaysHyundai Santa Fe Rack Assembly-Power Steering Gear Box
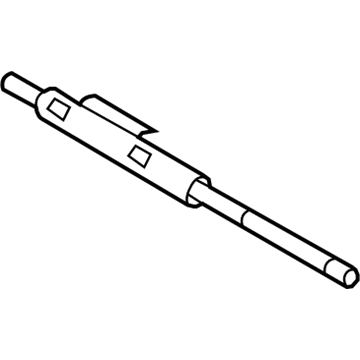
Part Number: 57710-2B000$193.13 MSRP: $271.34You Save: $78.21 (29%)Ships in 1-3 Business DaysHyundai Santa Fe Rack Assembly-Power Steering Gear Box
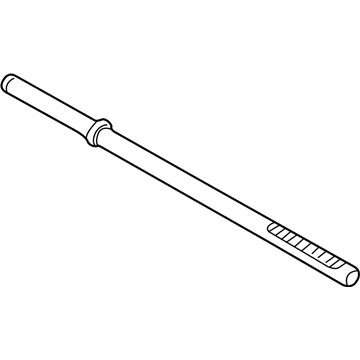
Part Number: 57725-26200$242.09 MSRP: $340.13You Save: $98.04 (29%)Ships in 1-3 Business DaysHyundai Santa Fe Rack Assembly-Power Steering Gear Box
Part Number: 57710-2W300$265.84 MSRP: $373.50You Save: $107.66 (29%)Ships in 1-3 Business DaysHyundai Santa Fe Rack Assembly-Power Steering Gear Box
Part Number: 57710-2W100$281.00 MSRP: $394.79You Save: $113.79 (29%)Ships in 1-3 Business DaysHyundai Santa Fe Gear & Linkage Assembly-Power Steering
Part Number: 57710-26500$1481.61 MSRP: $2118.52You Save: $636.91 (31%)Ships in 1-3 Business DaysHyundai Santa Fe Pinion Assembly-Steering Gear Box
Part Number: 56511-2W100$145.33 MSRP: $204.18You Save: $58.85 (29%)Ships in 1-3 Business DaysHyundai Santa Fe Reman Gear & Linkage Assembly
Part Number: 57700-0W100-RM$300.97 MSRP: $453.90You Save: $152.93 (34%)Ships in 1-3 Business DaysHyundai Santa Fe Reman Gear & Linkage Assembly
Part Number: 57710-26200-RM$290.06 MSRP: $439.75You Save: $149.69 (35%)Ships in 1-3 Business DaysHyundai Santa Fe Reman Gear & Linkage Assembly
Part Number: 57710-26500-RM$290.06 MSRP: $439.75You Save: $149.69 (35%)Ships in 1-3 Business DaysHyundai Santa Fe Reman Gear & Linkage Assembly
Part Number: 57700-2B000-RM$320.33 MSRP: $462.00You Save: $141.67 (31%)Ships in 1-3 Business DaysHyundai Santa Fe Pinion Assembly-Steering Gear Box
Part Number: 56512-S2500$245.56 MSRP: $345.00You Save: $99.44 (29%)Ships in 1-3 Business DaysHyundai Santa Fe Pinion Assembly-Steering Gear Box
Part Number: 56511-S2000$257.28 MSRP: $361.47You Save: $104.19 (29%)Ships in 1-3 Business DaysHyundai Santa Fe Gear & Linkage Assembly-Power Steering
Part Number: 57700-2B000$1320.96 MSRP: $1888.81You Save: $567.85 (31%)
| Page 1 of 2 |Next >
1-20 of 23 Results
Hyundai Santa Fe Rack And Pinion
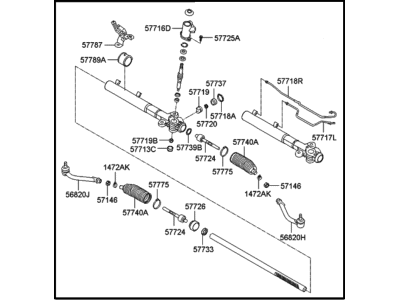
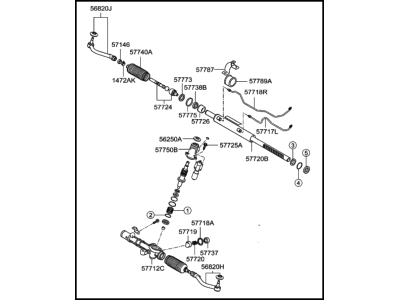
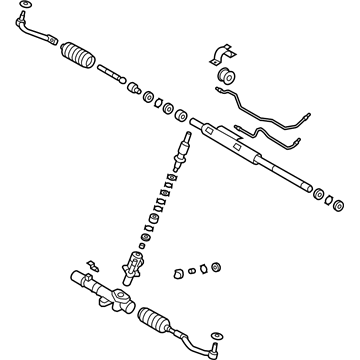
Hyundai Santa Fe uses a Rack And Pinion component which transforms wheel rotation into wheel displacement motions that enable exact steering capabilities. Referred to as the steering mechanism the Rack And Pinion system depends on a pinion gear attached to the steering column along with a rack gear inside a metal tube bound to tie-rods and steering knuckles. By the steering wheel motion the Hyundai Rack And Pinion apparatus connects to the rack to allow proper tire rotation. The Hyundai Santa Fe implements straight gears for its Rack And Pinion setup because they provide efficient operation with lower temperature output and better torque standards. Helical gears remain an option for these systems yet they cause additional wear along with elevated operating temperatures. Steering feedback and control receives additional enhancement through hydraulic or electric power assistance which establishes the Santa Fe Rack And Pinion system as a vital component of vehicle steering operations.
If you are looking for affordable high-quality OEM Hyundai Santa Fe Rack And Pinion, then you have come to the prime place. Our website provides a large amount of genuine Hyundai Santa Fe Rack And Pinion at unbeatable prices. All our parts come backed with the manufacturer's warranty.
Hyundai Santa Fe Rack And Pinion Parts Questions & Experts Answers
- Q: How to remove and install the rack and pinion on Hyundai Santa Fe?A:To remove the rack and pinion, park the vehicle with the front wheels straight, loosen the front wheel lug nuts, raise the front, and support it securely on jackstands. Apply the parking brake and remove the wheels, along with the engine under-covers if applicable. Place a drain pan under the rack and pinion, detach the power steering pressure and return lines, capping the ends to prevent fluid loss and contamination, using a flare-nut wrench to avoid damaging the fittings. Mark the relationship of the intermediate shaft to the steering shaft U-joint and remove the pinch bolt. Separate the tie-rod ends from the steering knuckle arms, noting that for 2010 and later models, the subframe must be completely removed to access the rack and pinion. Remove the rack and pinion mounting bolts, then separate the intermediate shaft U-joint from the rack and pinion input shaft and maneuver the rack and pinion down and out from the subframe. Check the rack and pinion mounting grommets for excessive wear or deterioration, replacing them if necessary. For installation, raise the rack and pinion into position, connect the intermediate shaft U-joint to the steering input shaft while aligning the marks, and if installing a new rack and pinion, center the pinion by counting the turns lock to lock. Install and tighten the mounting bolts and nuts to the specified torque, connect the tie-rod ends to the steering knuckle arms, and tighten them. Install the steering shaft U-joint pinch bolt in the passenger cab and ensure the alignment marks match if the intermediate shaft was separated. Connect the power steering pressure and return hoses to the rack and pinion, fill the power steering pump reservoir with the recommended fluid, and reattach the bracket to the top of the rack and pinion assembly. Lower the vehicle and bleed the steering system, then have the alignment checked by a dealer service department or an alignment shop.
Related Hyundai Santa Fe Parts
Browse by Year
2023 Rack And Pinion 2022 Rack And Pinion 2021 Rack And Pinion 2020 Rack And Pinion 2019 Rack And Pinion 2018 Rack And Pinion 2017 Rack And Pinion 2016 Rack And Pinion 2015 Rack And Pinion 2014 Rack And Pinion 2013 Rack And Pinion 2012 Rack And Pinion 2011 Rack And Pinion 2010 Rack And Pinion 2009 Rack And Pinion 2008 Rack And Pinion 2007 Rack And Pinion 2006 Rack And Pinion 2005 Rack And Pinion 2004 Rack And Pinion 2003 Rack And Pinion 2002 Rack And Pinion 2001 Rack And Pinion 2000 Rack And Pinion
