×
- Hello
- Login or Register
- Quick Links
- Live Chat
- Track Order
- Parts Availability
- RMA
- Help Center
- Contact Us
- Shop for
- Hyundai Parts
- Hyundai Accessories


My Garage
My Account
Cart
Genuine Hyundai CV Joint Boot
Constant-Velocity Joint Boot- Select Vehicle by Model
- Select Vehicle by VIN
Select Vehicle by Model
orMake
Model
Year
Select Vehicle by VIN
For the most accurate results, select vehicle by your VIN (Vehicle Identification Number).
446 CV Joint Boots found

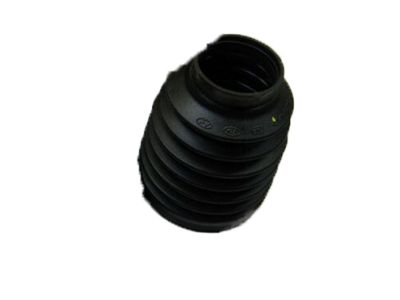
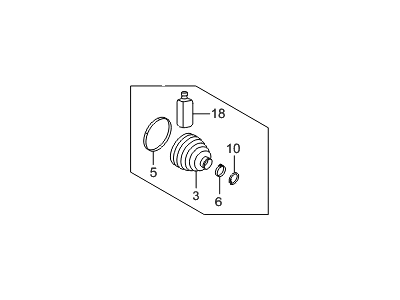
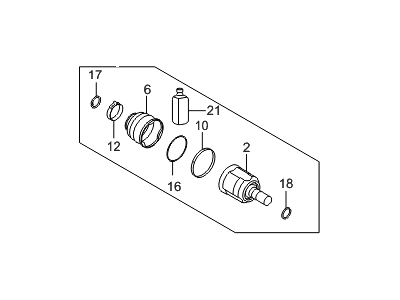
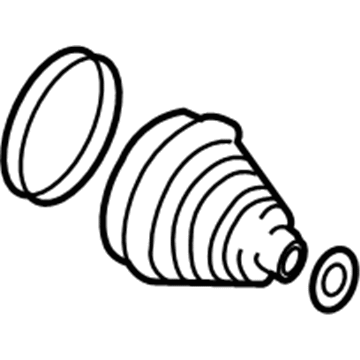
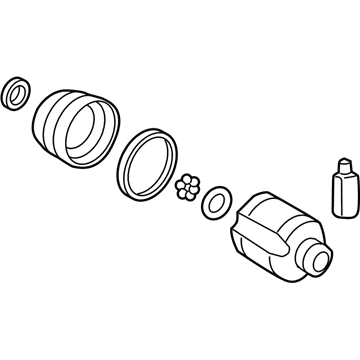
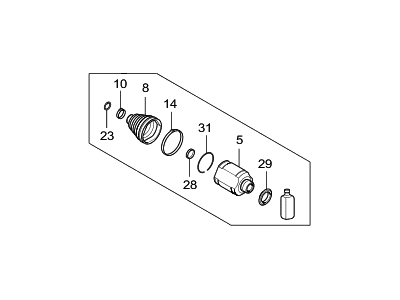
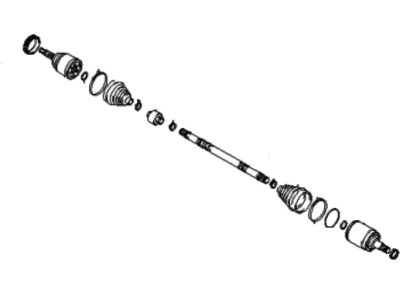
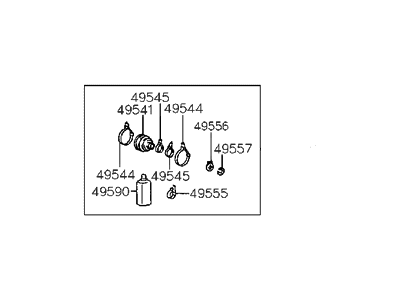
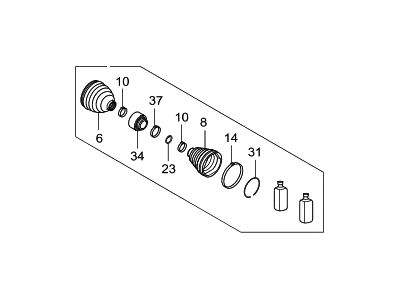
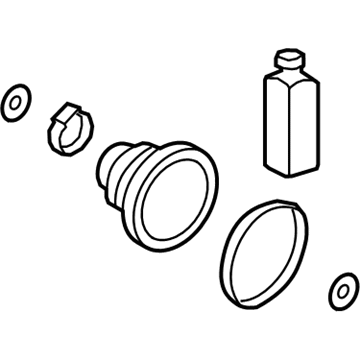
Hyundai Boot Kit-Front Axle Wheel Side RH
Part Number: 49581-C1050$38.93 MSRP: $54.23You Save: $15.30 (29%)Ships in 1-3 Business DaysProduct Specifications- Other Name: Boot Kit-Front Axle Wheel Side,RH; Outer Boot
- Position: Passenger Side

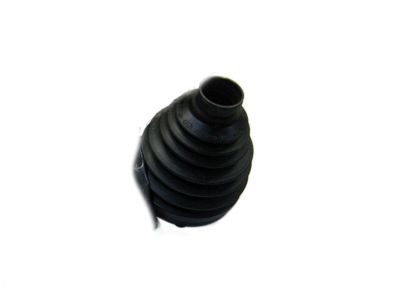
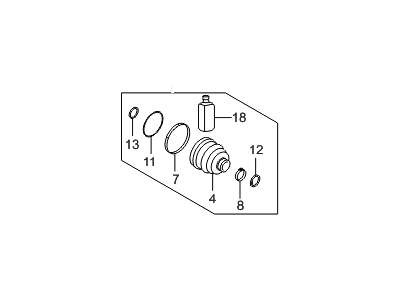
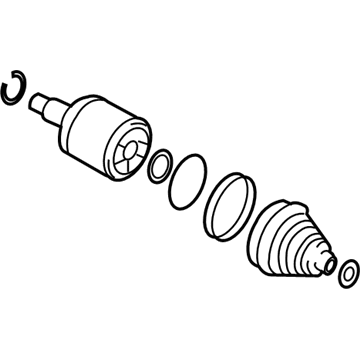
Hyundai Boot Kit-Front Axle Wheel Side RH
Part Number: 49581-C1350$41.88 MSRP: $58.34You Save: $16.46 (29%)Ships in 1-3 Business DaysProduct Specifications- Other Name: Boot Kit-Front Axle Wheel Side,RH; Outer Boot
- Position: Passenger Side
- Replaced by: 49581-3V650-SJ
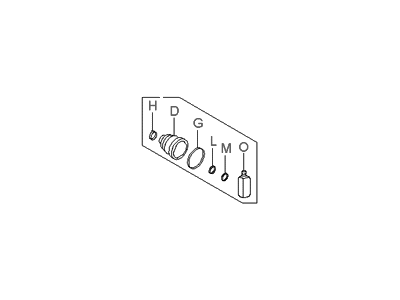
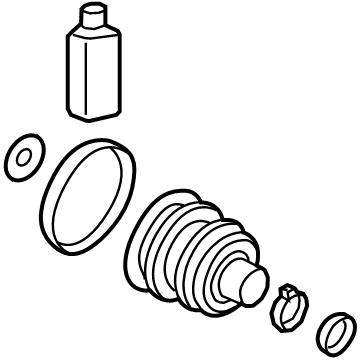
Hyundai Boot Kit-Front Axle Differential Side LH
Part Number: 49583-C1000$48.16 MSRP: $67.08You Save: $18.92 (29%)Ships in 1-3 Business DaysProduct Specifications- Other Name: Boot Kit-Front Axle Differential Side,LH; Inner Boot
- Position: Front Driver Side
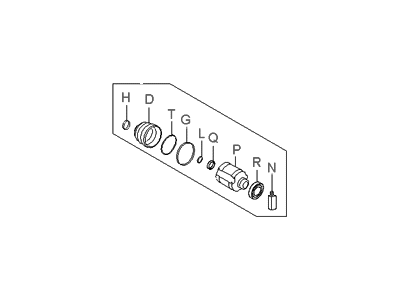
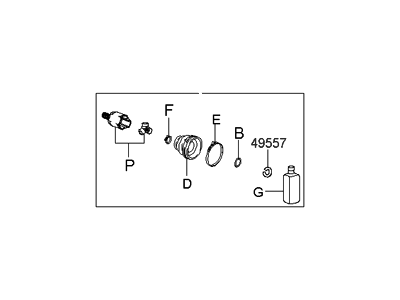
Hyundai Joint Kit-Front Axle Differential Side RH
Part Number: 49582-C2260$291.35 MSRP: $409.33You Save: $117.98 (29%)Ships in 1-3 Business DaysProduct Specifications- Other Name: Joint Kit-Front Axle Differential Side,RH; Boot, Inner CV Joint, Inner Joint
- Position: Passenger Side
Hyundai Joint Kit-Front Axle Differential Side RH
Part Number: 49582-C2350$293.80 MSRP: $412.78You Save: $118.98 (29%)Ships in 1-3 Business DaysProduct Specifications- Other Name: Joint Kit-Front Axle Differential Side,RH; Inner CV Joint, Inner Joint
- Position: Passenger Side
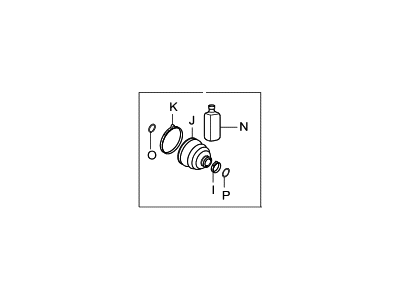
Hyundai Boot Kit-Front Axle Differential Side
Part Number: 49542-D3010$57.95 MSRP: $81.42You Save: $23.47 (29%)Ships in 1-3 Business DaysProduct Specifications- Other Name: Boot, Inner Boot
- Position: Front
Hyundai Boot Kit-Front Axle Differential Side
Part Number: 49506-2HA31$54.61 MSRP: $76.06You Save: $21.45 (29%)Ships in 1-3 Business DaysProduct Specifications- Other Name: Boot Kit, Inner Boot
- Position: Front
Hyundai Boot Kit-Front Axle Differential Side
Part Number: 49583-3S000$64.80 MSRP: $91.05You Save: $26.25 (29%)Ships in 1-3 Business DaysProduct Specifications- Other Name: Boot, Inner Boot
- Position: Front
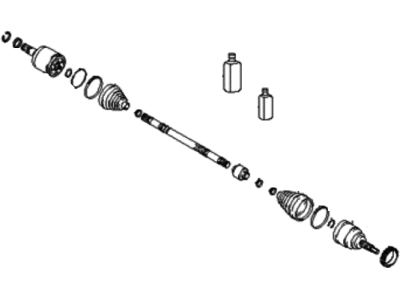
Hyundai Joint Kit-Front Axle Differential Side
Part Number: 49535-F2305$232.52 MSRP: $326.68You Save: $94.16 (29%)Ships in 1-3 Business DaysProduct Specifications- Other Name: Inner CV Joint, Inner Joint, Inner Joint Assembly
- Position: Front
Hyundai Boot Kit-Front Axle Differential Side
Part Number: 49583-3Q700$60.17 MSRP: $84.53You Save: $24.36 (29%)Ships in 1-3 Business DaysProduct Specifications- Position: Front
Hyundai Joint Kit-Front Axle Differential Side RH
Part Number: 49535-D3850$301.29 MSRP: $423.30You Save: $122.01 (29%)Ships in 1-3 Business DaysProduct Specifications- Other Name: Joint Kit-Front Axle Differential Side,RH; Inner CV Joint, Inner Joint Assembly
- Position: Passenger Side
Hyundai Boot Kit-Front Axle Differential Side
Part Number: 49542-F2105$43.45 MSRP: $60.52You Save: $17.07 (29%)Ships in 1-3 Business DaysProduct Specifications- Other Name: Boot Kit-FR Axle Diff Side; Inner Boot
- Position: Front
Hyundai Joint Kit-Front Axle Differential Side RH
Part Number: 49605-2BA10$261.84 MSRP: $367.87You Save: $106.03 (29%)Ships in 1-3 Business DaysProduct Specifications- Other Name: Joint Kit-Front Axle Differential Side,RH; Inner CV Joint
- Position: Passenger Side
Hyundai Joint Kit-Front Axle Differential Side RH
Part Number: 49582-2W650$343.77 MSRP: $487.23You Save: $143.46 (30%)Ships in 1-3 Business DaysProduct Specifications- Other Name: Joint Kit-Front Axle Differential Side,RH; Inner CV Joint, Inner Joint Assembly
- Position: Passenger Side
Hyundai Boot Kit-Front Axle Wheel Side RH
Part Number: 49609-3KA10$65.05 MSRP: $91.39You Save: $26.34 (29%)Ships in 1-3 Business DaysProduct Specifications- Position: Passenger Side
Hyundai Boot Kit-Front Axle Wheel Side RH
Part Number: 49609-25A00$91.24 MSRP: $128.19You Save: $36.95 (29%)Ships in 1-3 Business DaysProduct Specifications- Other Name: Outer Boot
- Position: Passenger Side
Hyundai Boot Kit-Front Axle Wheel Side RH
Part Number: 49581-C5050$100.40 MSRP: $141.06You Save: $40.66 (29%)Ships in 1-3 Business DaysProduct Specifications- Other Name: Boot Kit-Front Axle Wheel Side,RH; Boot, Boot Kit
- Position: Passenger Side
Hyundai Boot Kit-Front Axle Differential Side
Part Number: 49542-F2305$43.45 MSRP: $60.52You Save: $17.07 (29%)Ships in 1-3 Business DaysProduct Specifications- Other Name: Boot, Inner Boot
- Position: Front
Hyundai Joint Kit-Front Axle Differential Side
Part Number: 49505-26B00$44.15 MSRP: $61.50You Save: $17.35 (29%)Ships in 1-3 Business DaysProduct Specifications- Other Name: CV Joint, Inner Joint Assembly
- Position: Front
Hyundai Boot Kit-Front Axle Differential Side
Part Number: 49506-3KA10$59.14 MSRP: $83.10You Save: $23.96 (29%)Ships in 1-3 Business DaysProduct Specifications- Position: Front
| Page 1 of 23 |Next >
1-20 of 446 Results
Hyundai CV Joint Boot Parts Questions & Experts Answers
- Q: How to inspect and diagnose faulty CV Joint Boot and steering or suspension components on Hyundai Sonata?A:Rock the steering wheel back and forth with the vehicle's front wheels pointed straight ahead, while on the ground. Excessive freeplay may result from worn main shaft yoke, intermediate shaft yoke, lower arm balljoint, front wheel bearings or a broken or incorrectly adjusted steering gear. Other indications that there might be something wrong with your car's steering components include too much body movement when driving through rough roads, leaning or swaying during cornering and binding when turning the steering wheel. Test the shock absorber by pushing down on each corner of the vehicle and release it. If within one or two bounces the vehicle does not return to a level position then shocks/struts are worn out and need replacing. While bouncing the car listen for squeaks and noises coming from suspension parts. Lift the car up using a floor jack and put it on jackstands which will hold it securely in place. Of course it is also important to inspect tires for abnormal wear patterns as well as check their inflation pressures. The universal joint connecting between steering shaft and steering gear housing should be inspected as well as lubricant leakage or oozing in the gear housing itself. Dust seals and boots must not have any damage signs while at all boot clamps must never come loose anyhow; rightly so you should ensure that they have not been damaged in any way but if found loose then tighten them right away before anything else goes wrong with your machine! Examine tie-rod ends for play of excessive amount and search for disconnected parts, broken bolts and decayed rubber bushings on all suspension and steering elements Disorderly Helper In case his/her assistant turns this part from left side to right side; what needs to be done here is to make sure that all these parts can move without any problem just like they used to do before since no any rubbing has taken place again once upon some time now!!! Check for where slack exists among them. Try moving each control arm up and down on the prybar to check for play in balljoints. Any joint with play needs replacement. Inspect the balljoint boots for damage from cracking and leaking grease in them. Replace any damaged balljoints. CV Joint Boots are there to ensure that dirt, water and other foreign materials do not enter or damage CV joints. Check if any of these boots have tears, cracks or loose clamps that tell you something is wrong with it then replace as soon possible so as to prevent more coming damages within your system!
- Q: What Are the Steps and Considerations for Replacing CV Joint Boots and Driveaxles on Hyundai Santa Fe?A:If the CV joint boots must be replaced, one should prepare all the options before beginning this job, as rebuilt drive axles can be ordered for exchange that will help to save time and efforts. This allows you to check whether an assembly has spare parts and the cost of the parts before effecting the disassembly. A number of auto parts stores sell split type replacement boots that do not require the driveaxle to be pulled out, this is good because if you want to clean the CV joint as indicated, it is easier and safer to do so when the driveaxle is out of the vehicle. Outboard CV joints should not be dismantled since all outer CV joint are Birfield while the inner ones are of varying designs. Starting off, the first and obvious step should be the removal of the driveaxle and subsequent clamping of the immobilized part on the vise equipped with wooden jaws to prevent any undesired harm to the object of investigation. With your hand, check the CV joint for any undue looseness and suitable Cl-Wheel motion; if a boot is sabalous, remove, scrub and assess for harm. Then it is necessary to take off the clamps and gradually push off the outer boot and remove the housing from the joint, indicating the position of the tripod and the axleshaft to assemble them again. This, ensure you pull out the tripod joint snap-ring then knock the tripod joint off the driveaxle using a brass punch and hammer without marring the bearing areas. All components must to be clean with solvent, check external and internal damages, signs of great wear. Thus, if the inner CV joint has to be replaced then a new one can be fixed on to the old axleshaft; however, if outer CV joint requirement change then there is a need to buy an outer CV joint along with the axleshaft. To reassemble there is need to cover the splines on the inner end of the axleshaft with tape and then place the clamps and boot on the axleshaft can be followed by the tripod or double offset joint. Coat all these parts with grease, and screw the tripod into the housing, and then pack grease around the threaded part. Check that boot is correctly positioned, correct the CV Joint Boot length, balance the pressure inside the boot, and finally tighten the clamps. Last but not the least; fit the driveaxle assembly.
- Q: How to inspect and replace the CV Joint Boot on Hyundai Elantra?A:Before commencing work on the CV joints particularly if you suspect that they have worn out or the boots are worn out, it is important that you check for spare parts. However, it is possible to obtain complete rebuilt driveaxles on exchange basis, if required, which can be quite useful. There are two types available in some auto parts stores, which don't require the driveaxle to be dismantled, but the use of "split" types are recommended so that one can dismantle the CV joint and clean all contaminants that hasten wear because they get in between the joints. Models with ABS have sensor rings on outer CV joints of the drive shafts and the rings should be checked for damage. First, to undertake this procedure, yank the driveaxle away from the car and position it such that the end sits in a vise with soft jaws. For inner CV joint and boot, first release the boot clamps and pull back the boot, then disarm the joint: mark the relation of the tri-pot to the outer race when disassembling. Disassemble the cooler and for each of the components, clean the part and look for signs of wear and tear before balancing the components and applying the grease. Ball-and-Cage type of joints should have the clamps released, and thereafter carefully unstaked: before re-staking, they should be checked for signs of damages; and where necessary, greased. Before reinstalling the driveaxle, a new circlip should be put in place in all inner CV joints. For the outer CV joint, the following can be observed: wash and clean it if it is worn out then replace it, in the case of the CV joint boot if it is bad, replace it effective greasing and correct installation of the clamp. Last but not the least, loosen and alter the length of the inner joint, and thus, finally tighten the clamps and reposition the driveaxle.
Related Hyundai Parts
Browse by Model
Accent CV Joint Boot Azera CV Joint Boot Elantra CV Joint Boot Elantra GT CV Joint Boot Elantra N CV Joint Boot Elantra Touring CV Joint Boot Entourage CV Joint Boot Excel CV Joint Boot Genesis CV Joint Boot Genesis Electrified GV70 CV Joint Boot Genesis G70 CV Joint Boot Genesis G80 CV Joint Boot Genesis G90 CV Joint Boot Ioniq 5 CV Joint Boot Ioniq 6 CV Joint Boot Ioniq CV Joint Boot Kona CV Joint Boot Kona Electric CV Joint Boot Kona N CV Joint Boot Nexo CV Joint Boot Palisade CV Joint Boot Santa Cruz CV Joint Boot Santa Fe CV Joint Boot Santa Fe Hybrid CV Joint Boot Santa Fe Sport CV Joint Boot Santa Fe XL CV Joint Boot Scoupe CV Joint Boot Sonata CV Joint Boot Sonata Hybrid CV Joint Boot Tiburon CV Joint Boot Tucson CV Joint Boot Veloster CV Joint Boot Veloster N CV Joint Boot Venue CV Joint Boot Veracruz CV Joint Boot XG300 CV Joint Boot XG350 CV Joint Boot
